I saw the flyer on the fridge at work - Boxing Championships. “That would be interesting to take a few images of..” I pondered. That thought would prove to be the biggest understatement of the year thus far.
I contacted the event organiser via FaceBook messenger expressing my interest in taking some images of the event with no obligation to the organisers and offered them free use of the photos to promote their club and their event for the future. There is your first tip right there - if you want to try something new, and you don’t know how it’s going to work out - firstly, don’t even consider charging for it, and the important part here was that it gave both parties (The event organiser and myself) a possible win-win scenario. I would get to take images and gain access, and the club would get to use the images for free. If the images turned out rubbish - nothing lost apart from some of your time !

Heading down to the local gym and making yourself know beforehand will be a huge benefit to your relationship with the boxers and getting your camera settings right before a fight.
I’d highly recommend going down to the local boxing club and introducing yourself before. Not only will you have the chance to give confidence within yourself with camera settings, but meeting the people you will see during the boxing events will reduce the anxiety of being in unfamiliar surrounds.
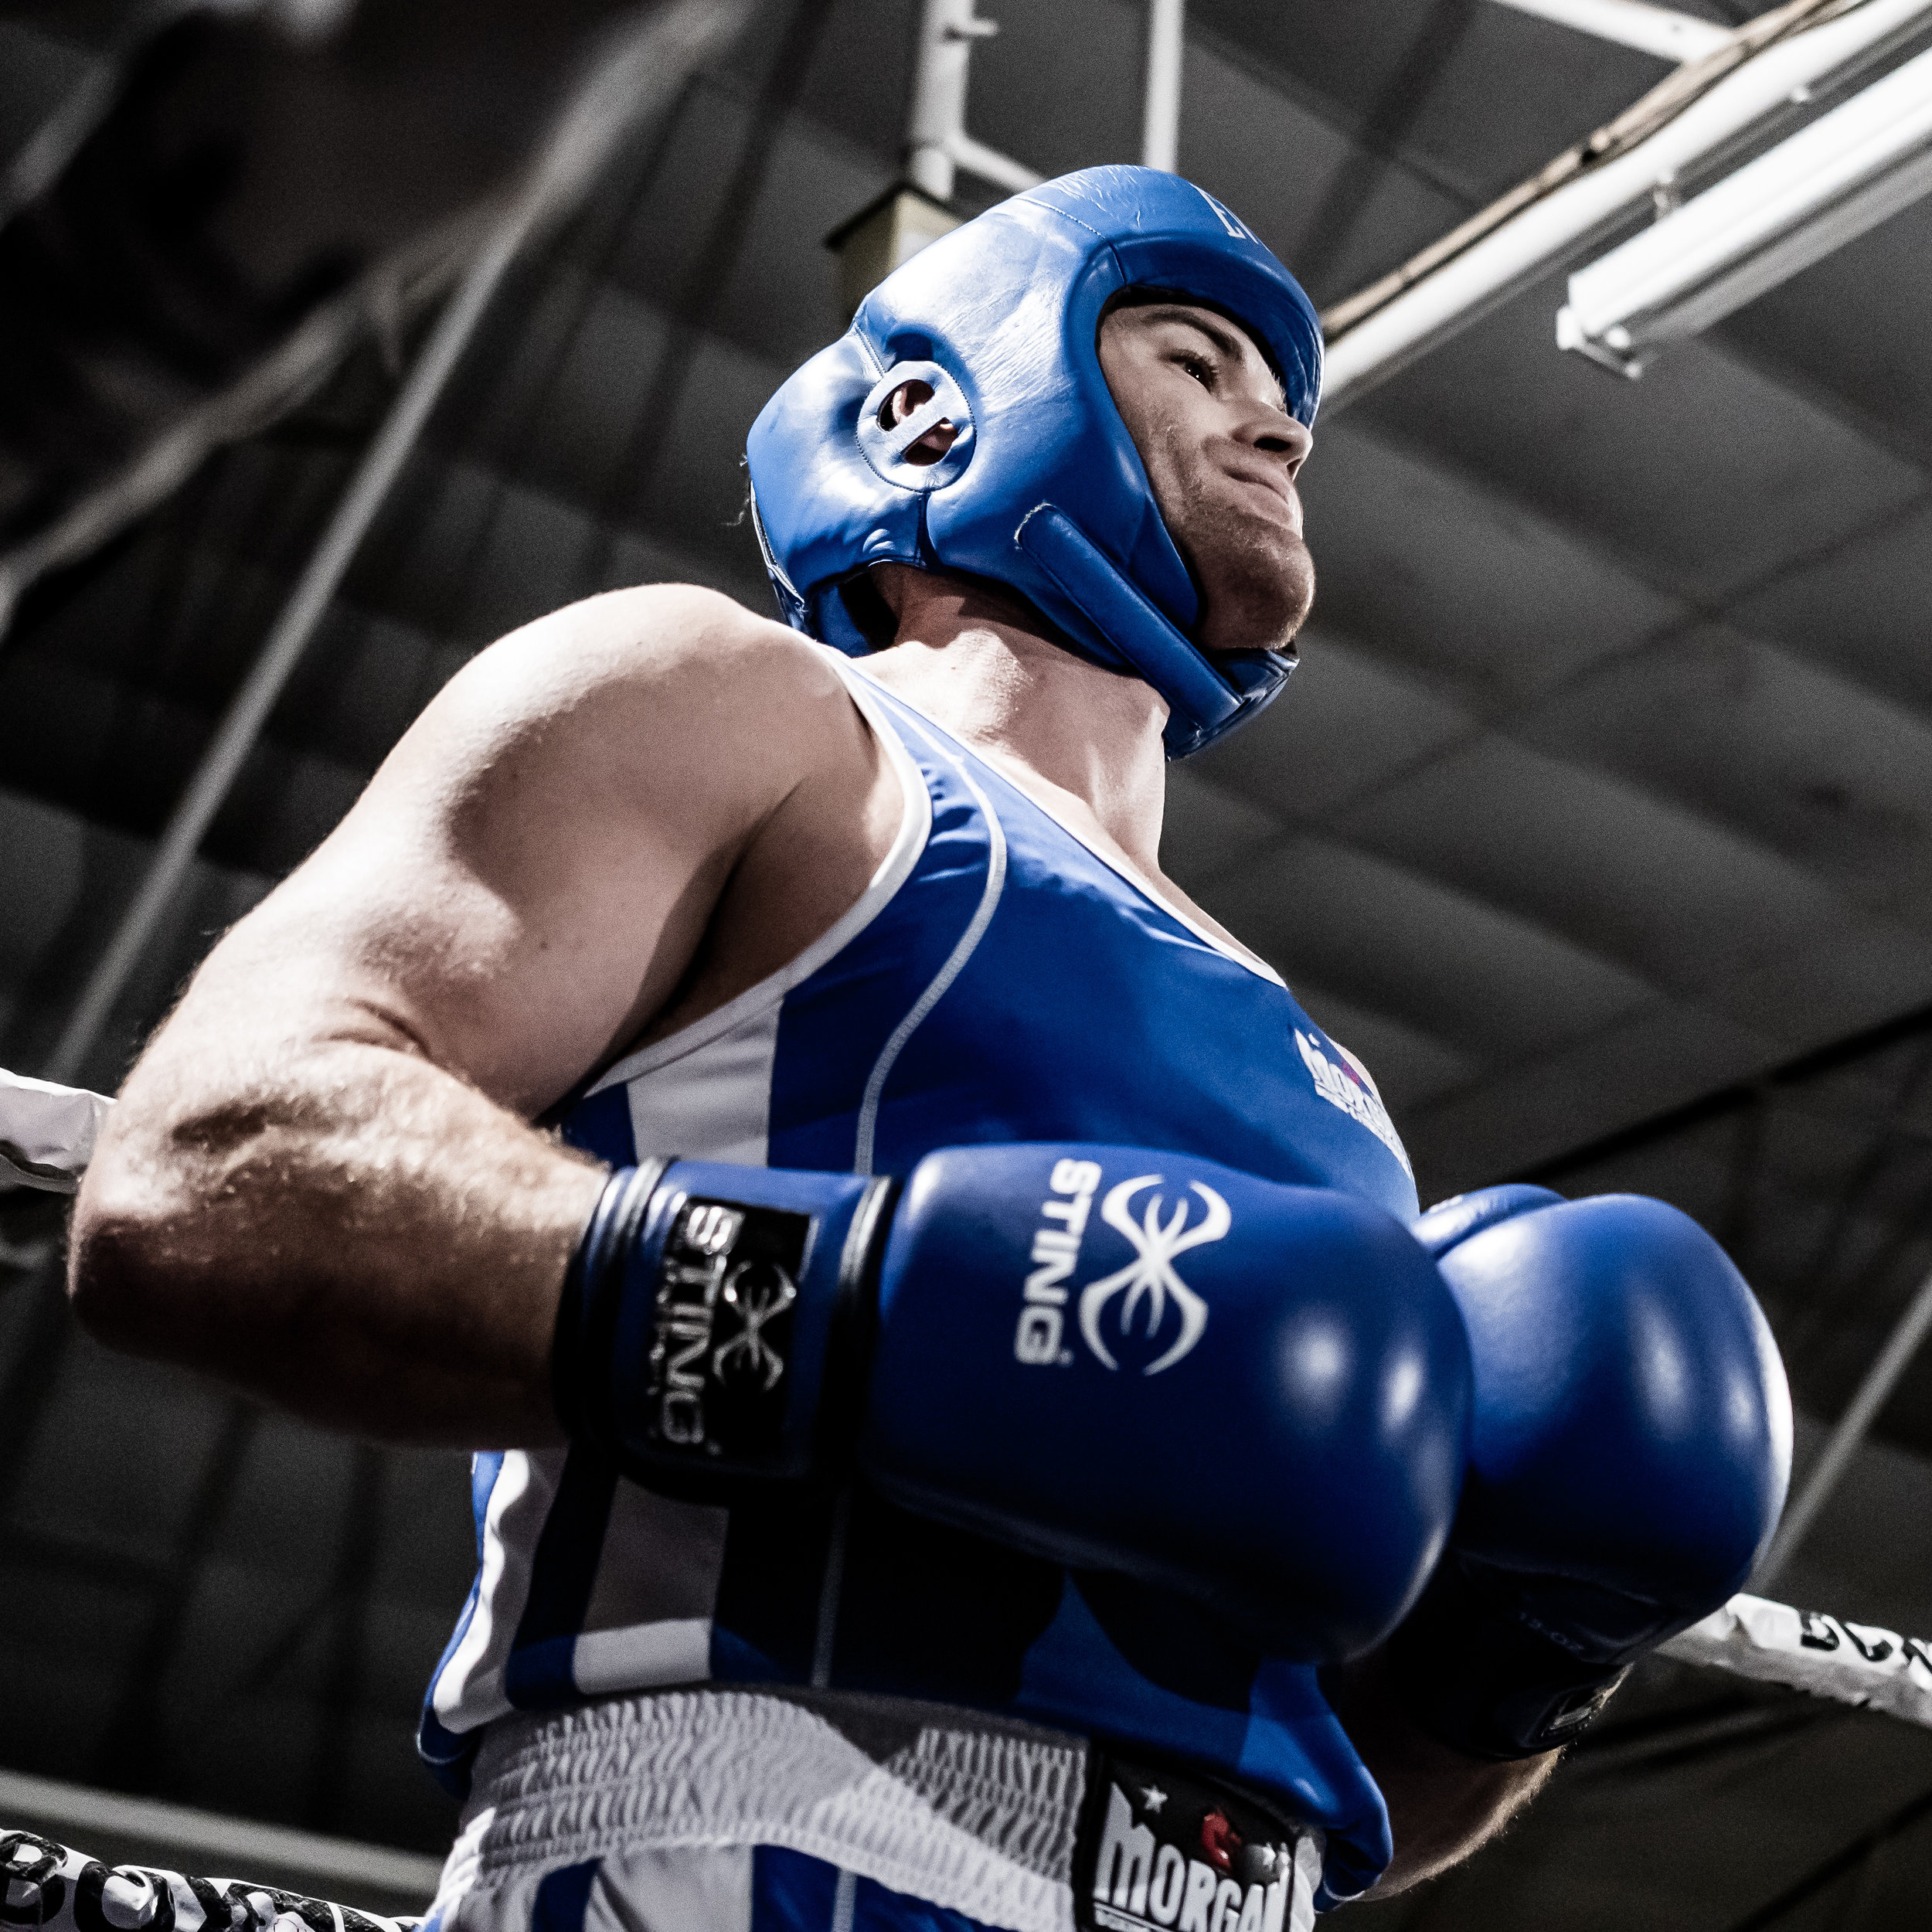
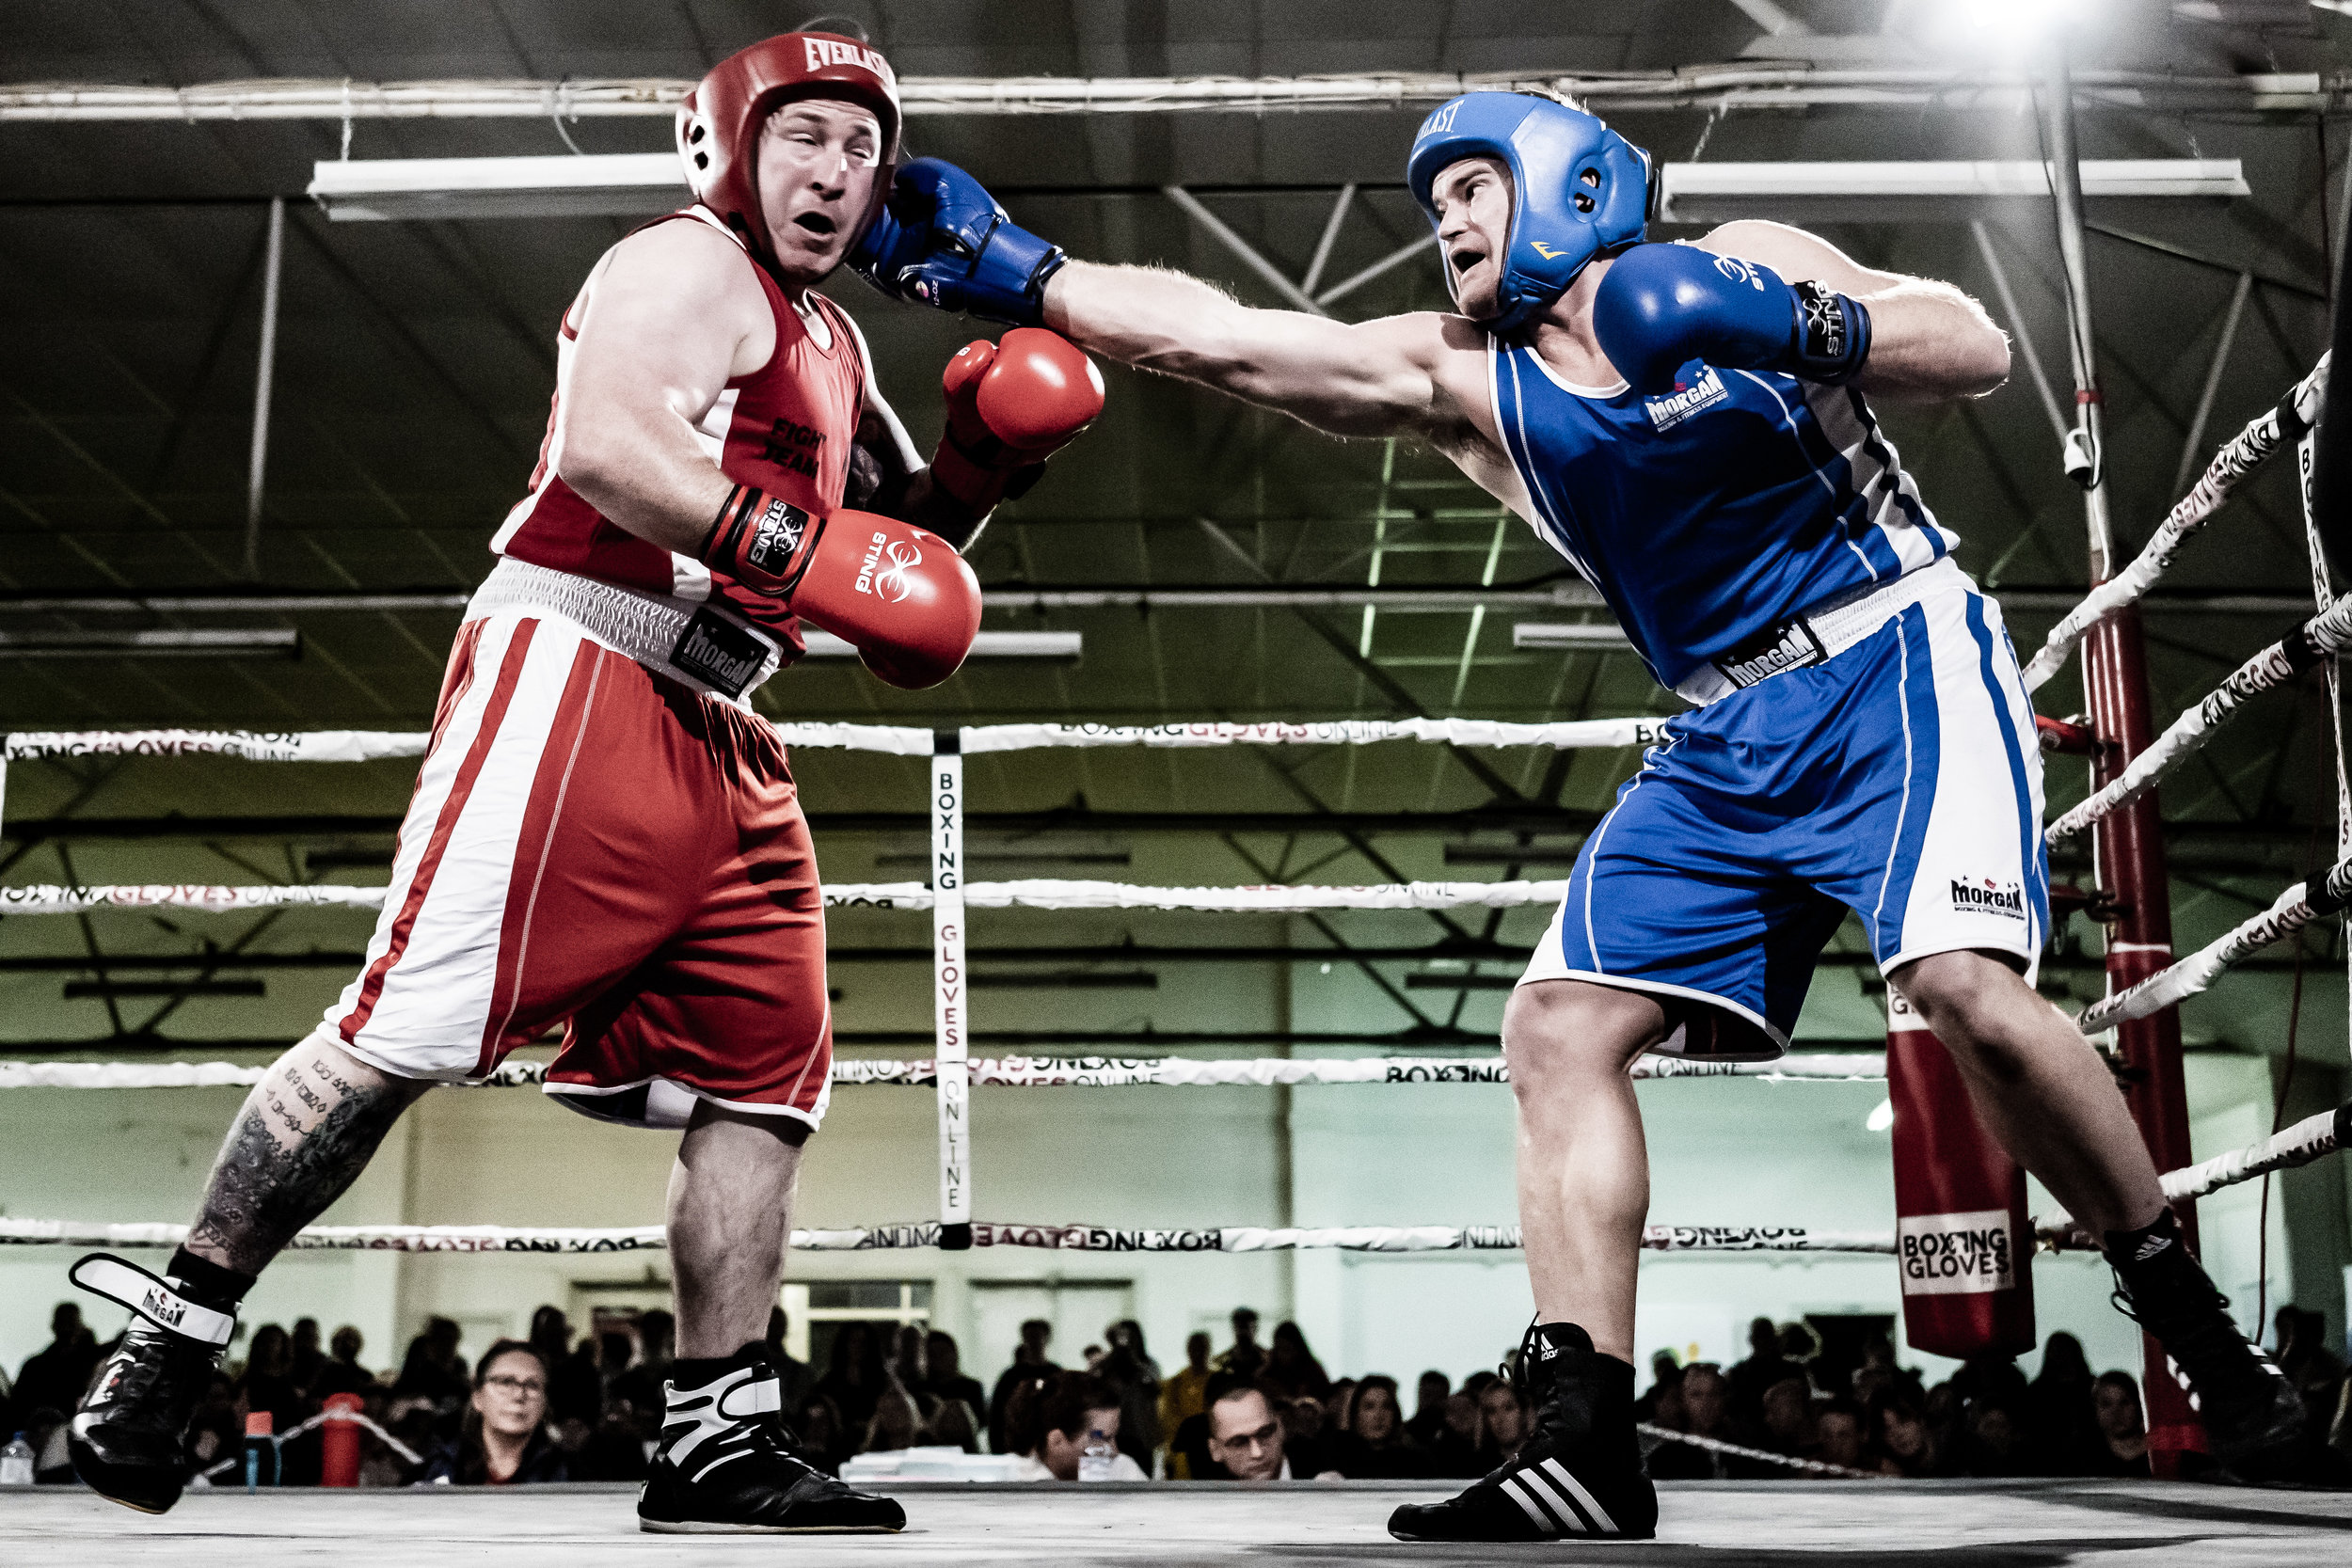
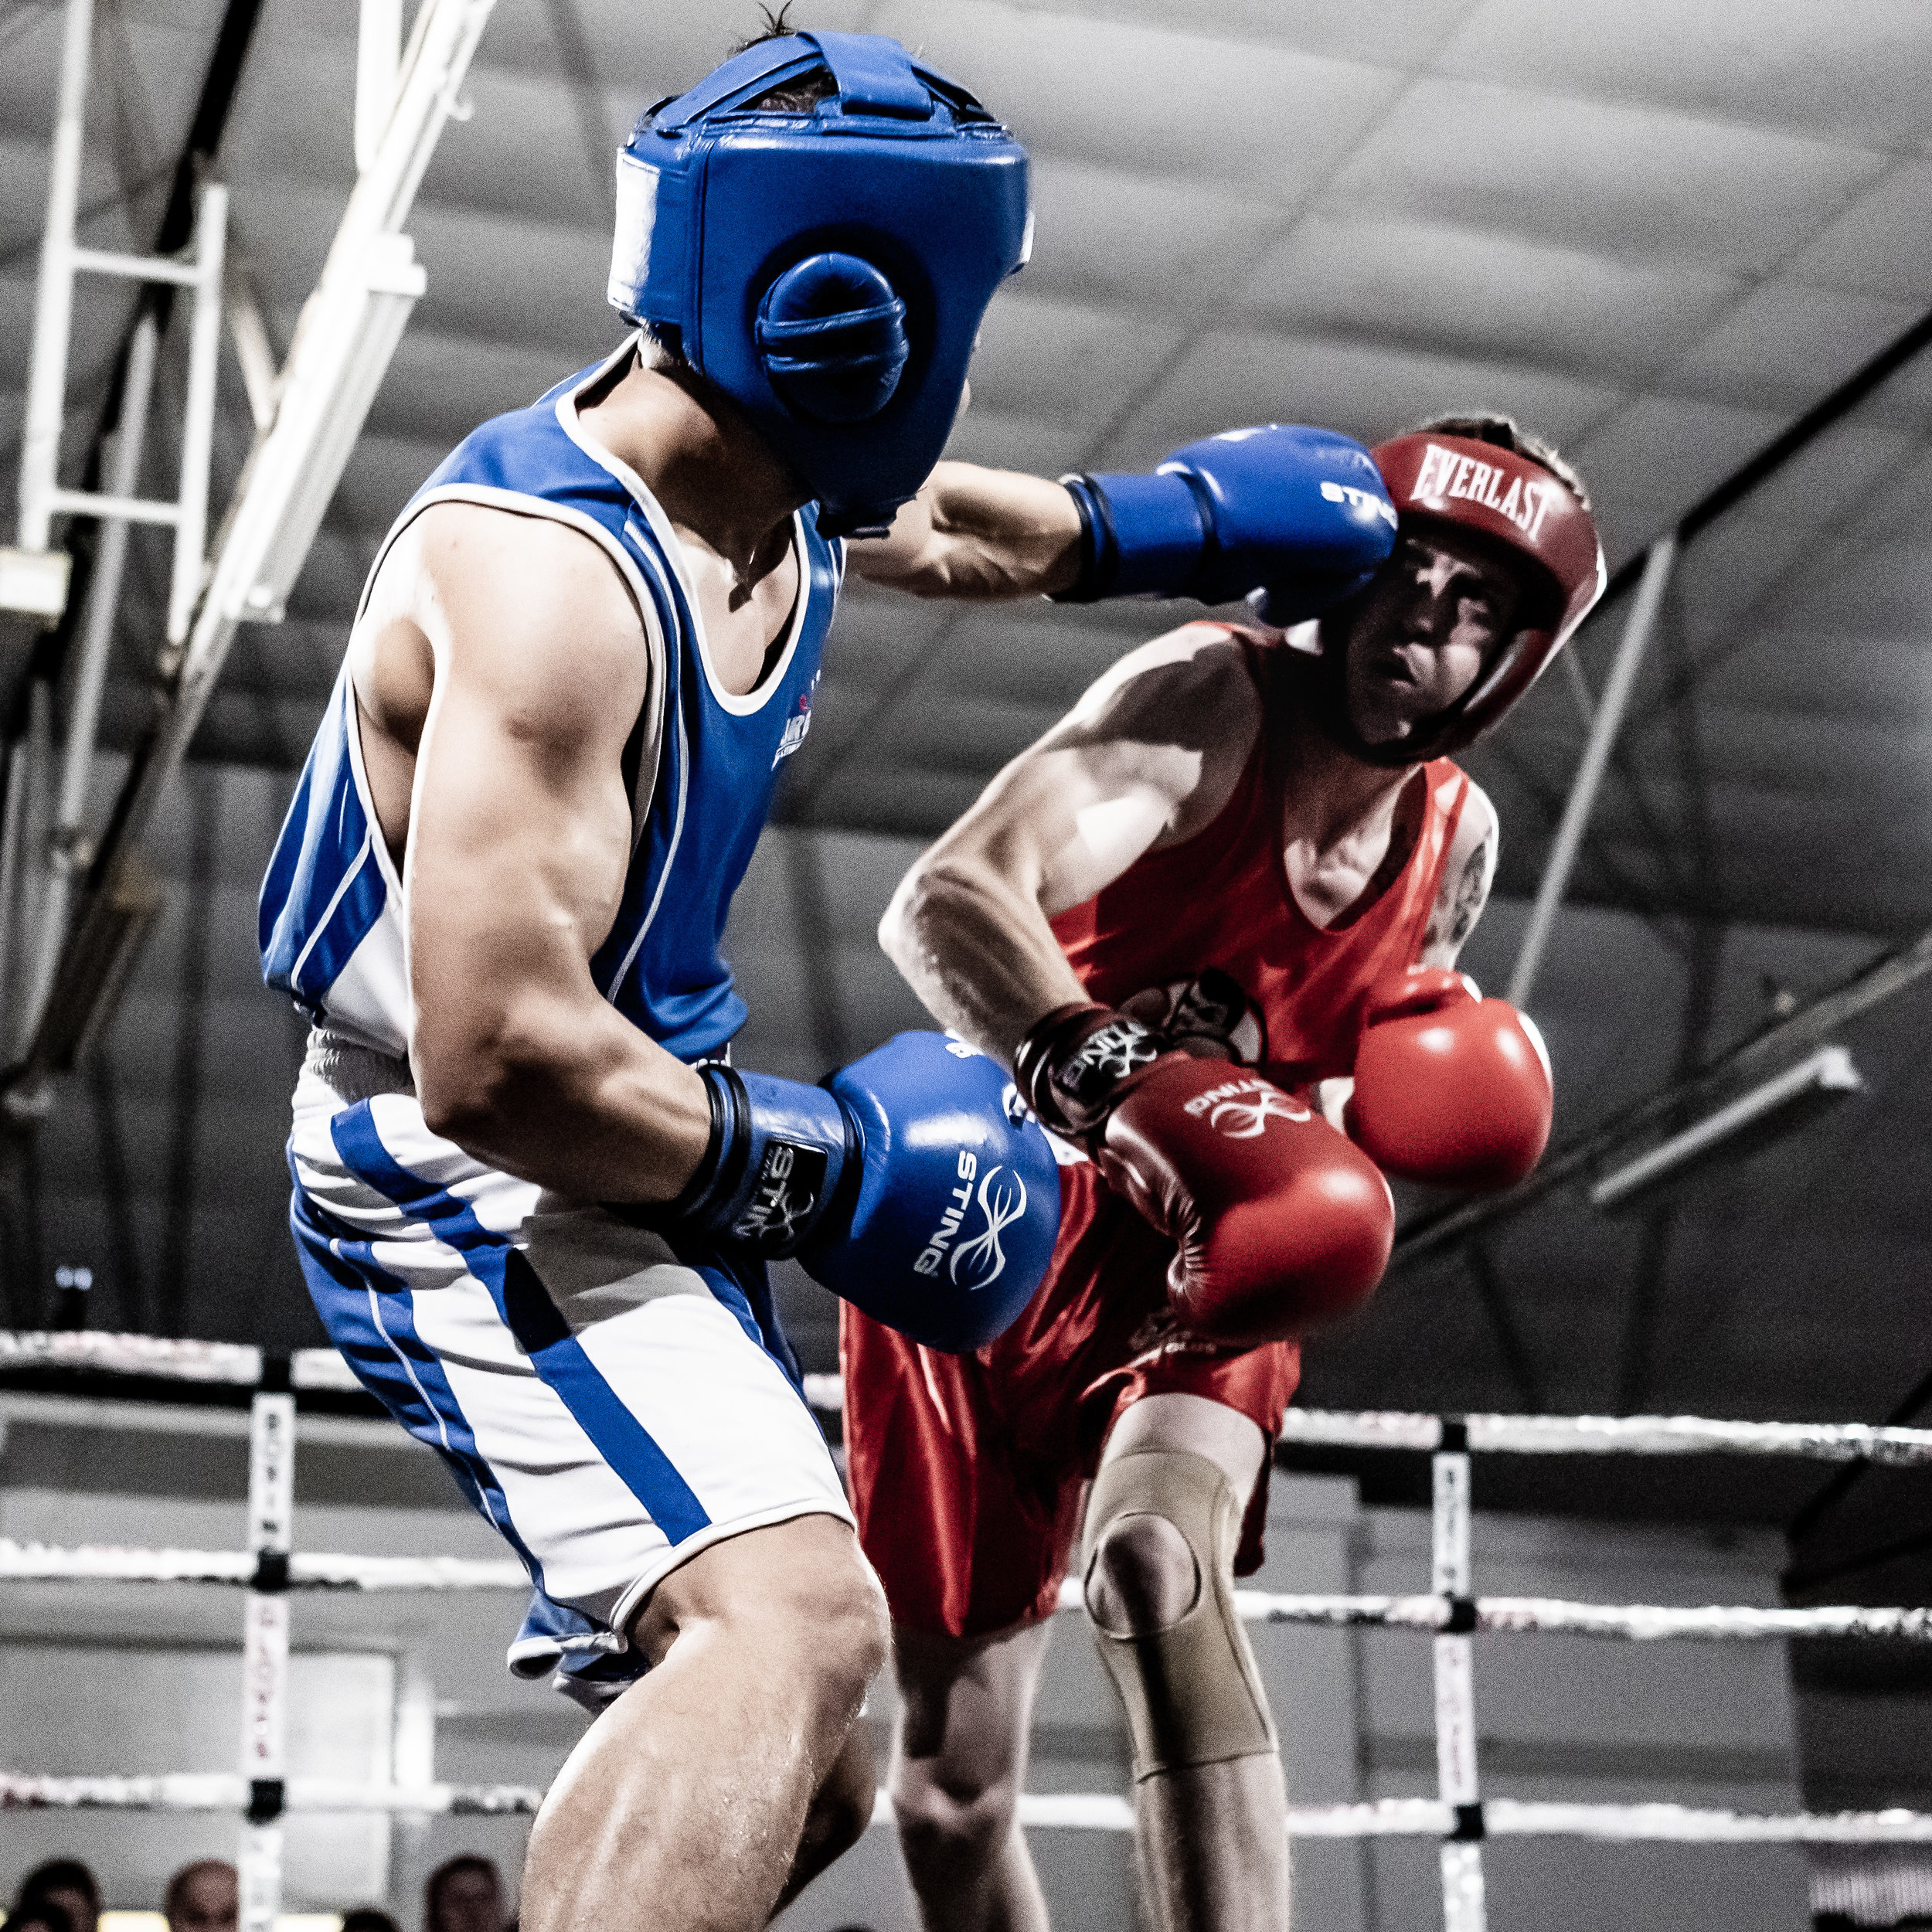
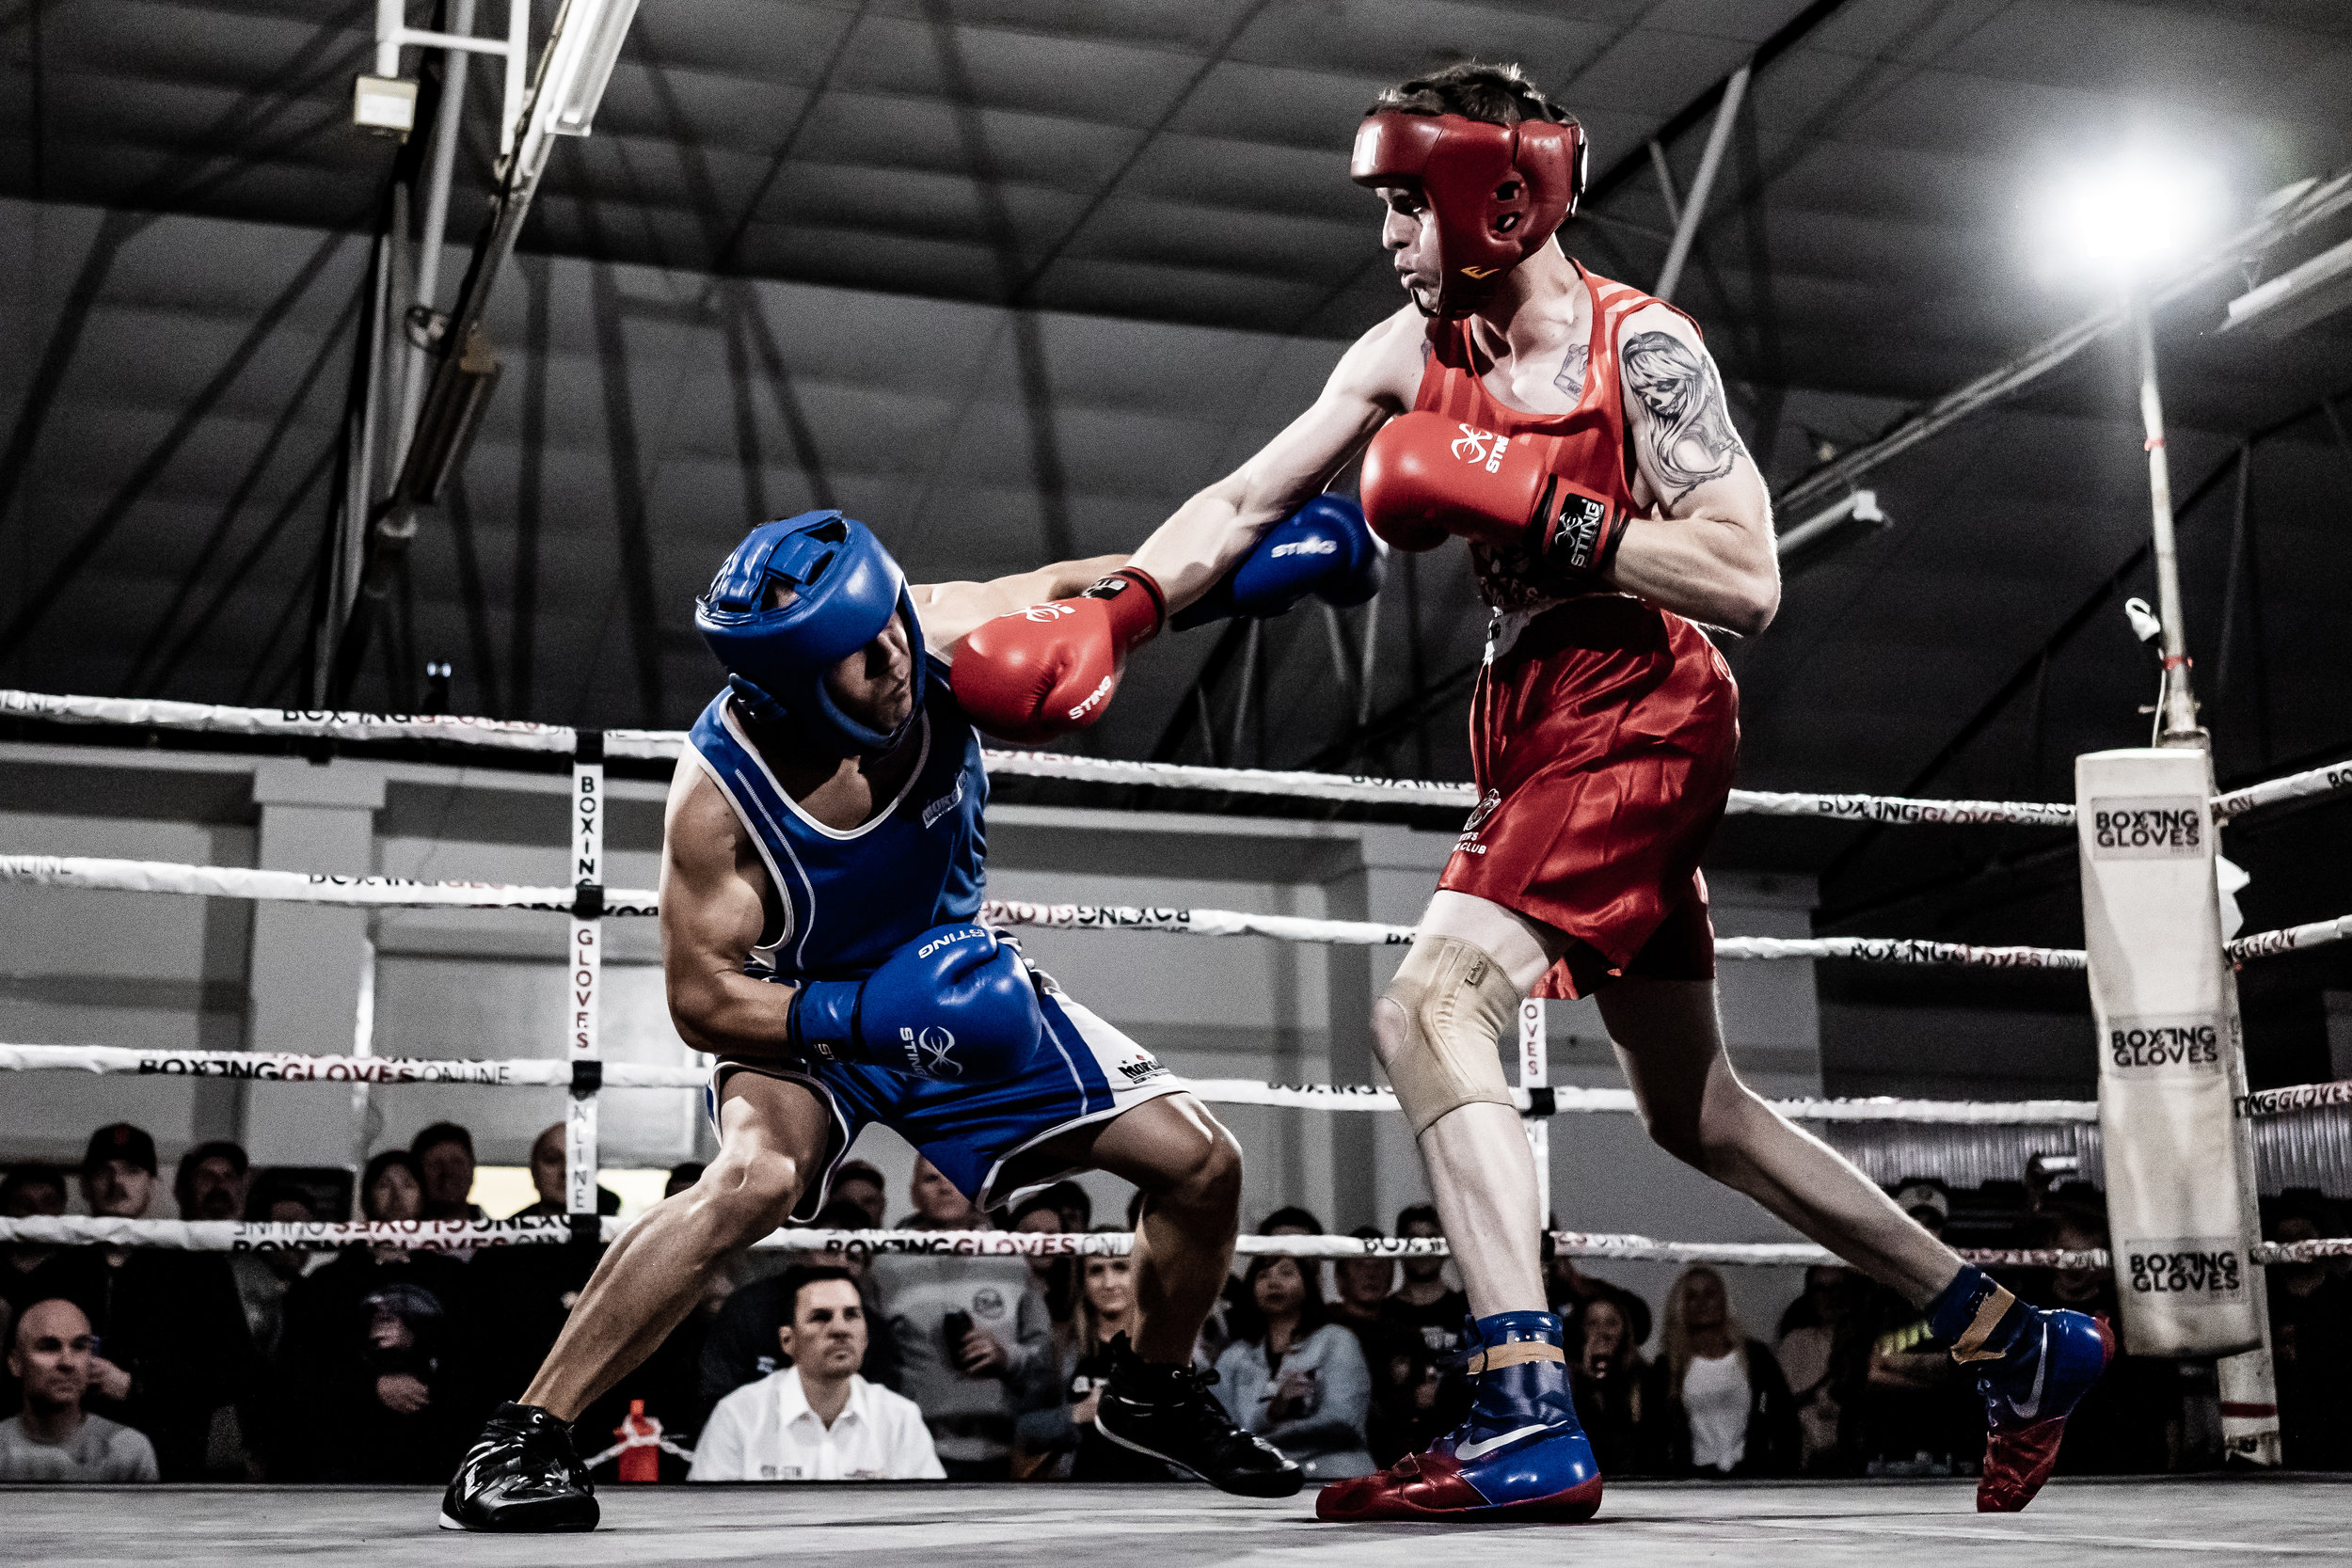
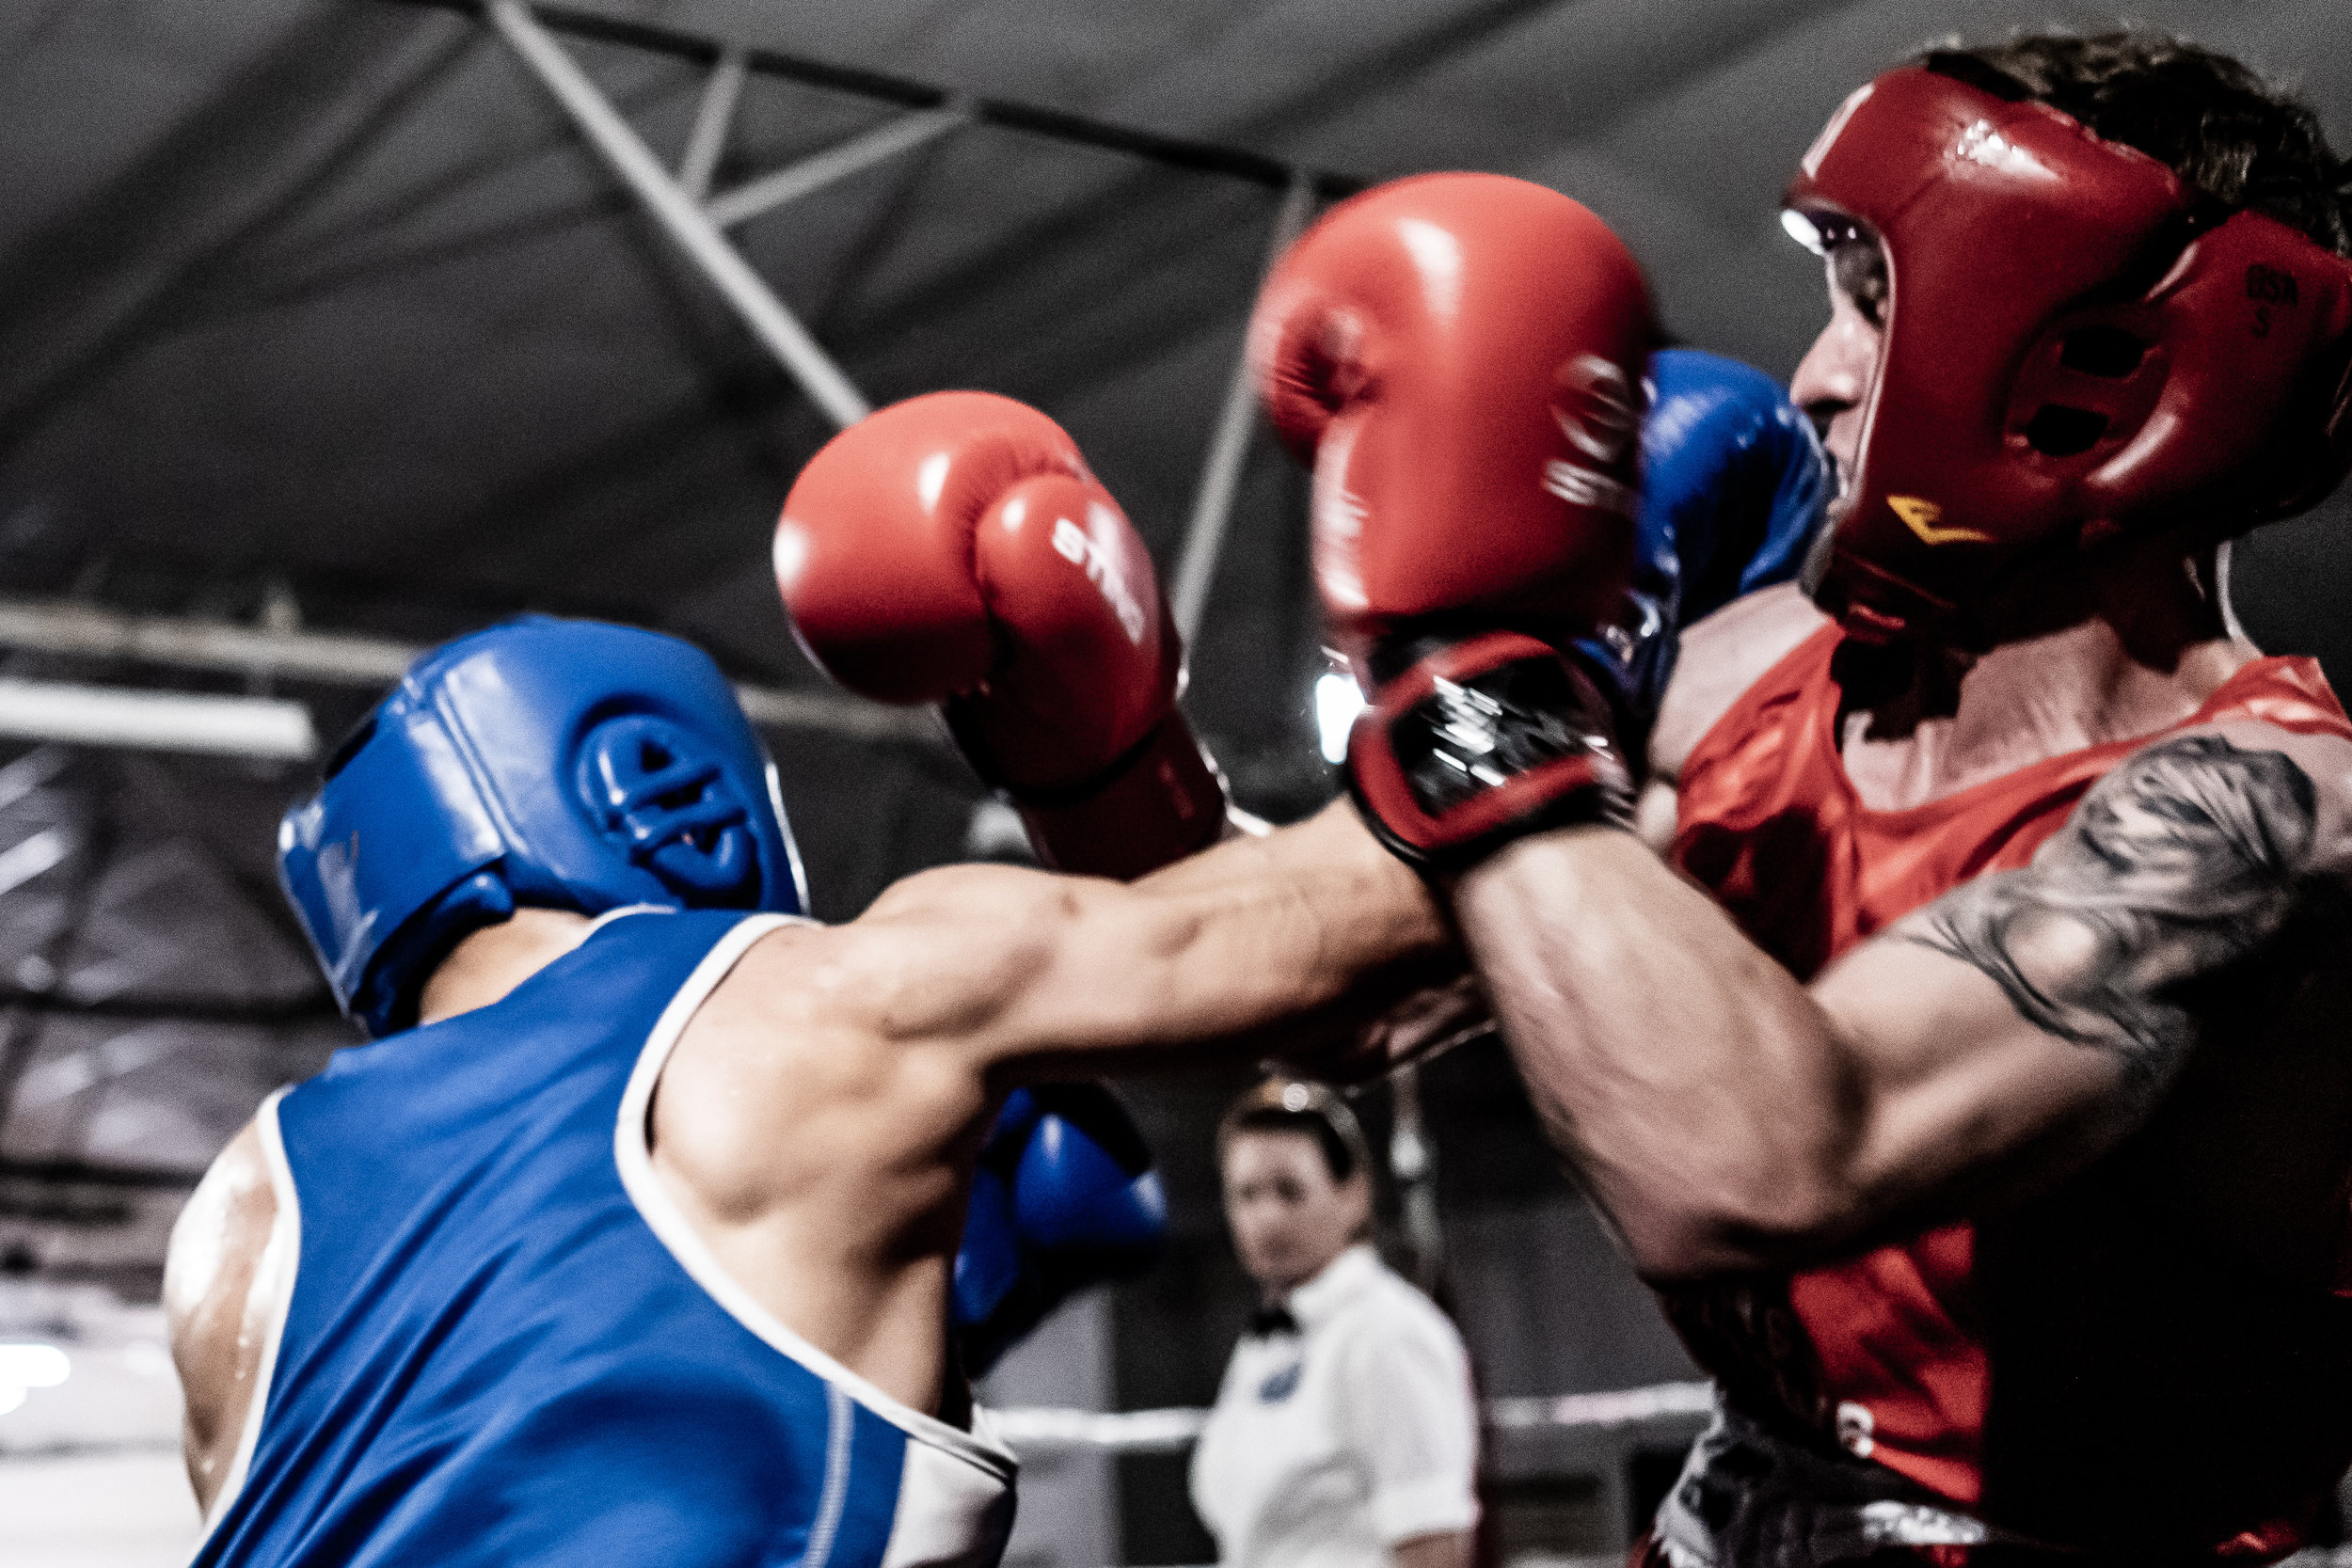
Once you arrive at the event, take a moment to observe what is going on in and around the boxing ring and within any other areas that you may be taking the images. What I did for my first event was to set out the ISO requirements initially, as most of the images will be taken at a fast shutter speed (1/400 second at an absolute minimum I found to “Freeze” the action) and this will depend on the type of camera and lens you will be using. In my case - I was using a Sony A7iii with the Sony 35mm F2.8, as this lens focuses extremely fast, and having it set at F2.8 would have the image mostly in focus with an adequate depth of field. For most part - the ISO ranged from 3200 to 4000. For the Autofocus (Which is brilliant by the way on the Sony A7iii for these kind of events) I used Constant AF with eye detect ON. Things move so fast in this sport, and having an autofocus system that is reliable just increases the chances of the perfectly focused shot by at least 50% (Compared to Nikon D850 and Fuji X-T3 which I have used in the past). This isn’t a plug for Sony as such - it is just what I found. Another thing to consider is to use High Speed shutter and take a series of shots, as it will be milliseconds between “That” shot.

Finding out the lighting conditions before the event starts is one less factor to worry about before the main event starts.

Look around and observe whats going on, meet the boxers and trainers - introduce yourself
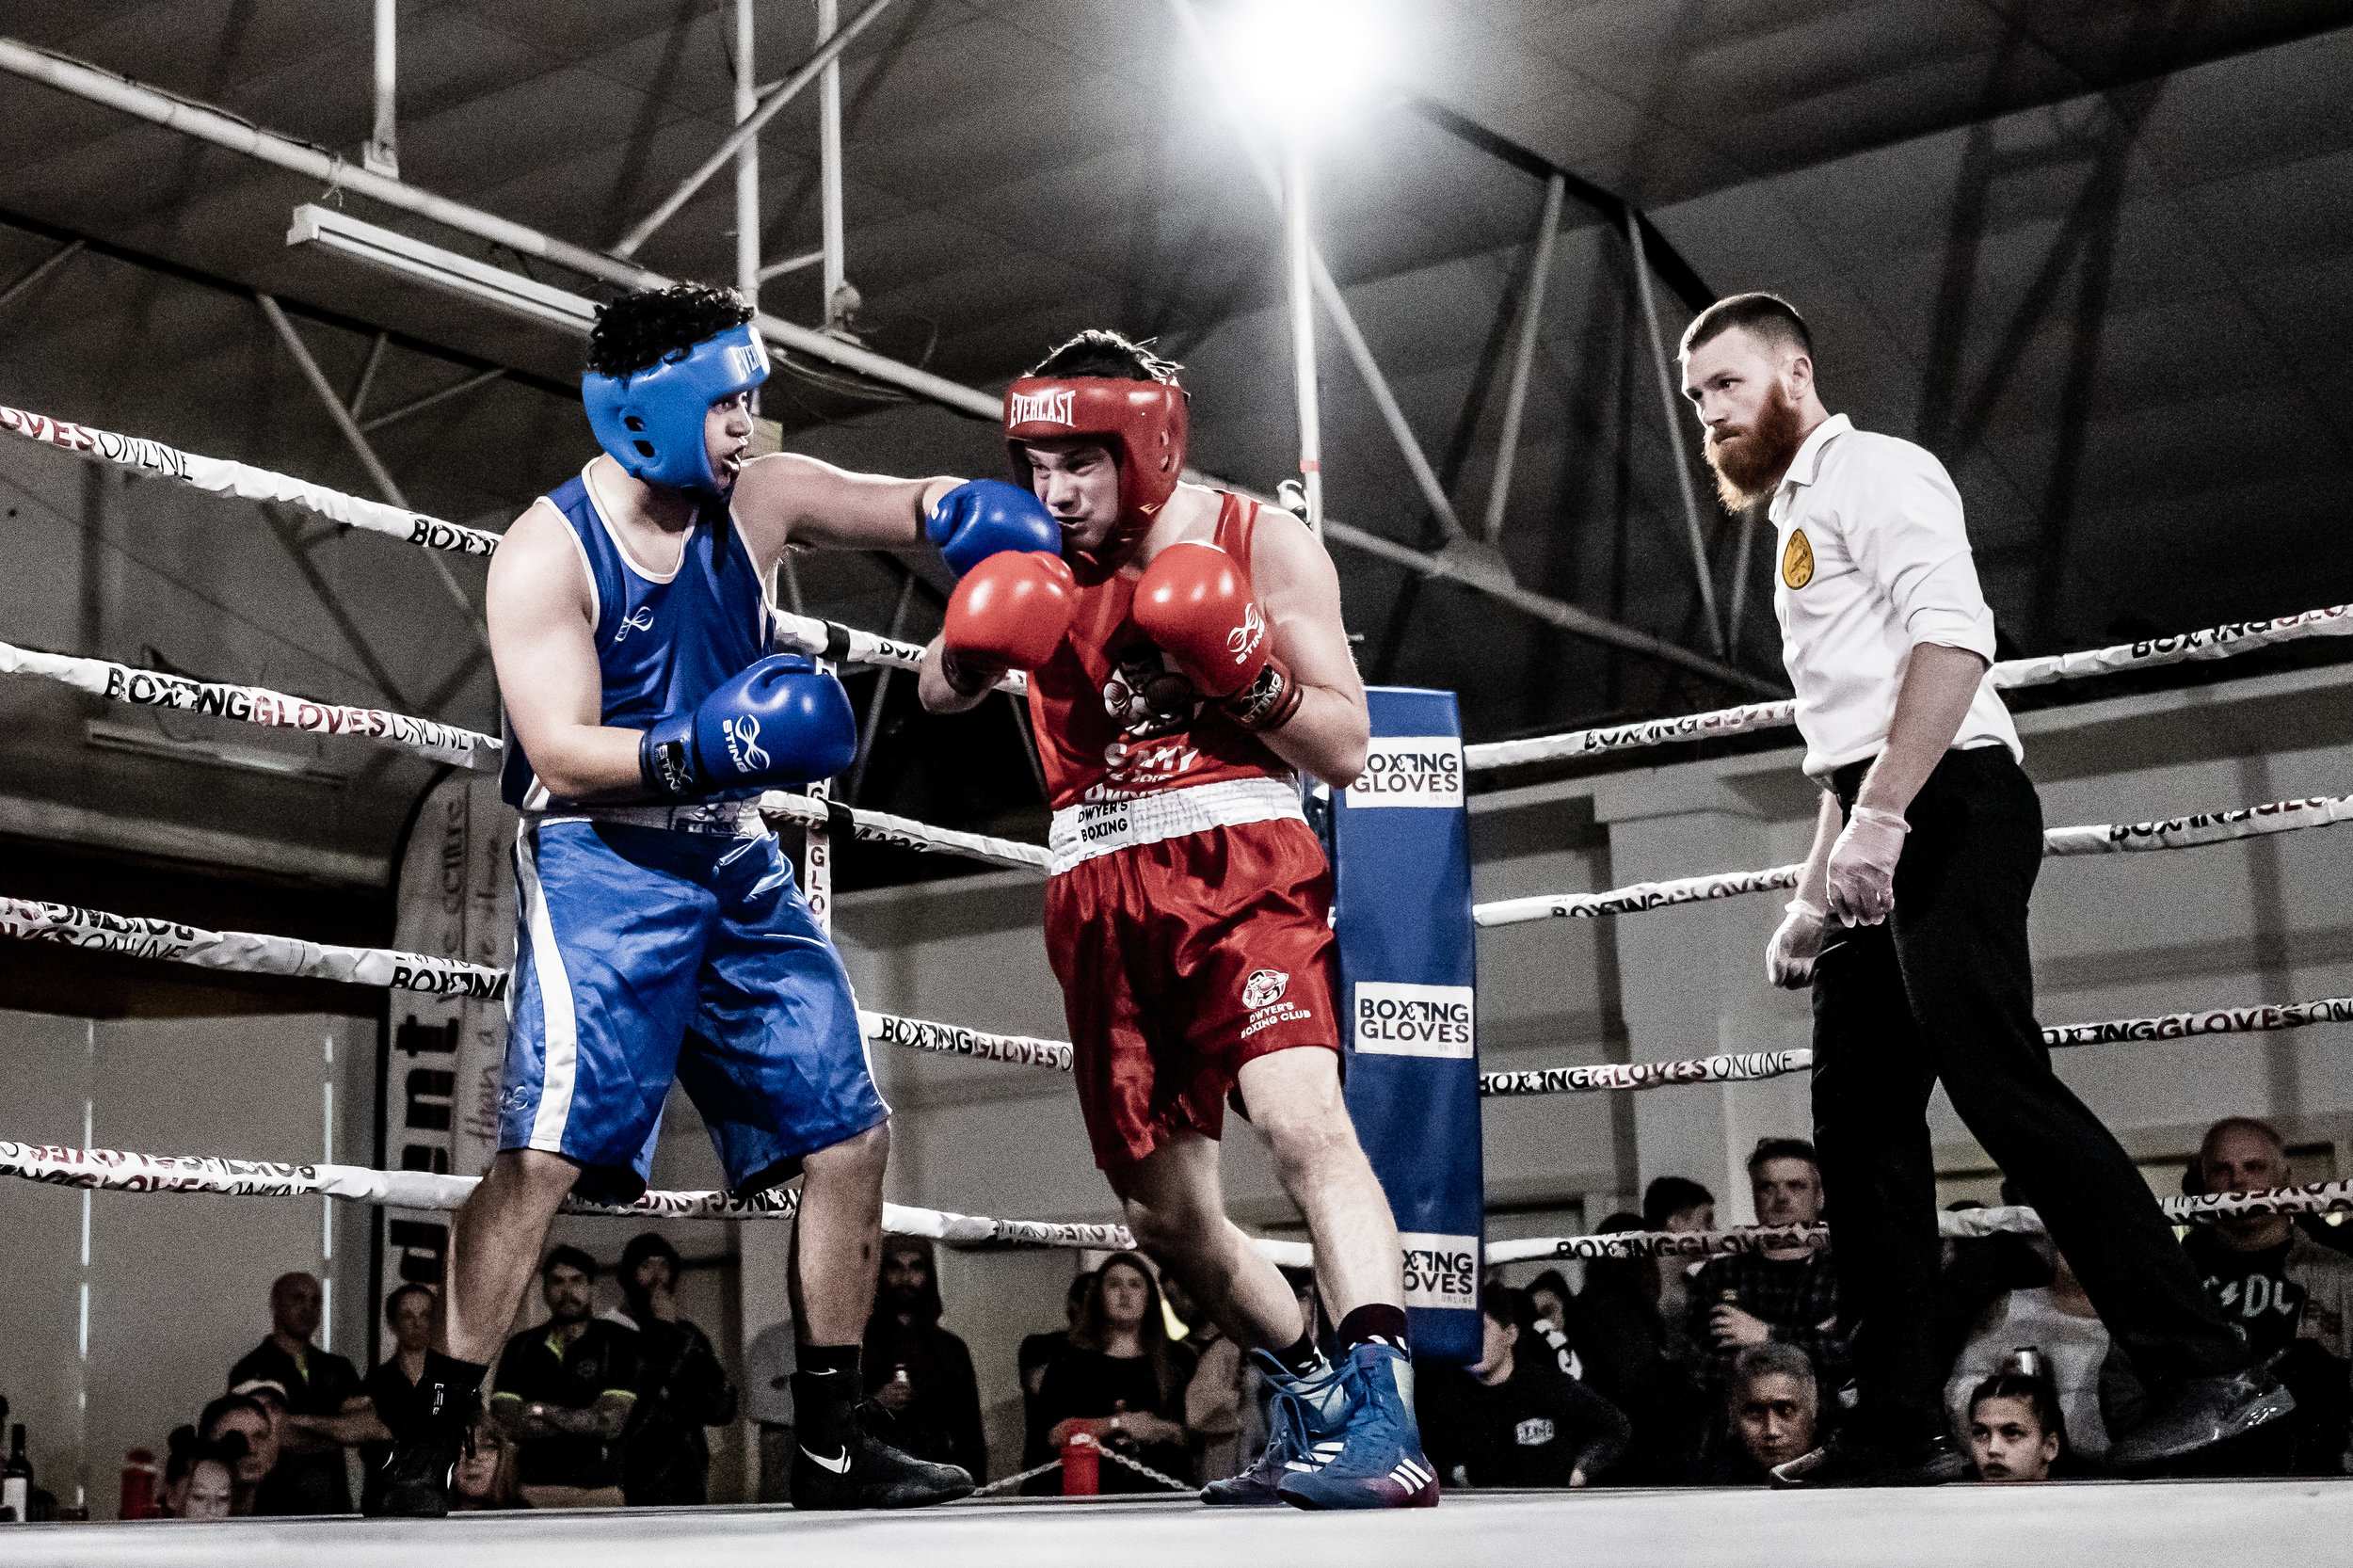
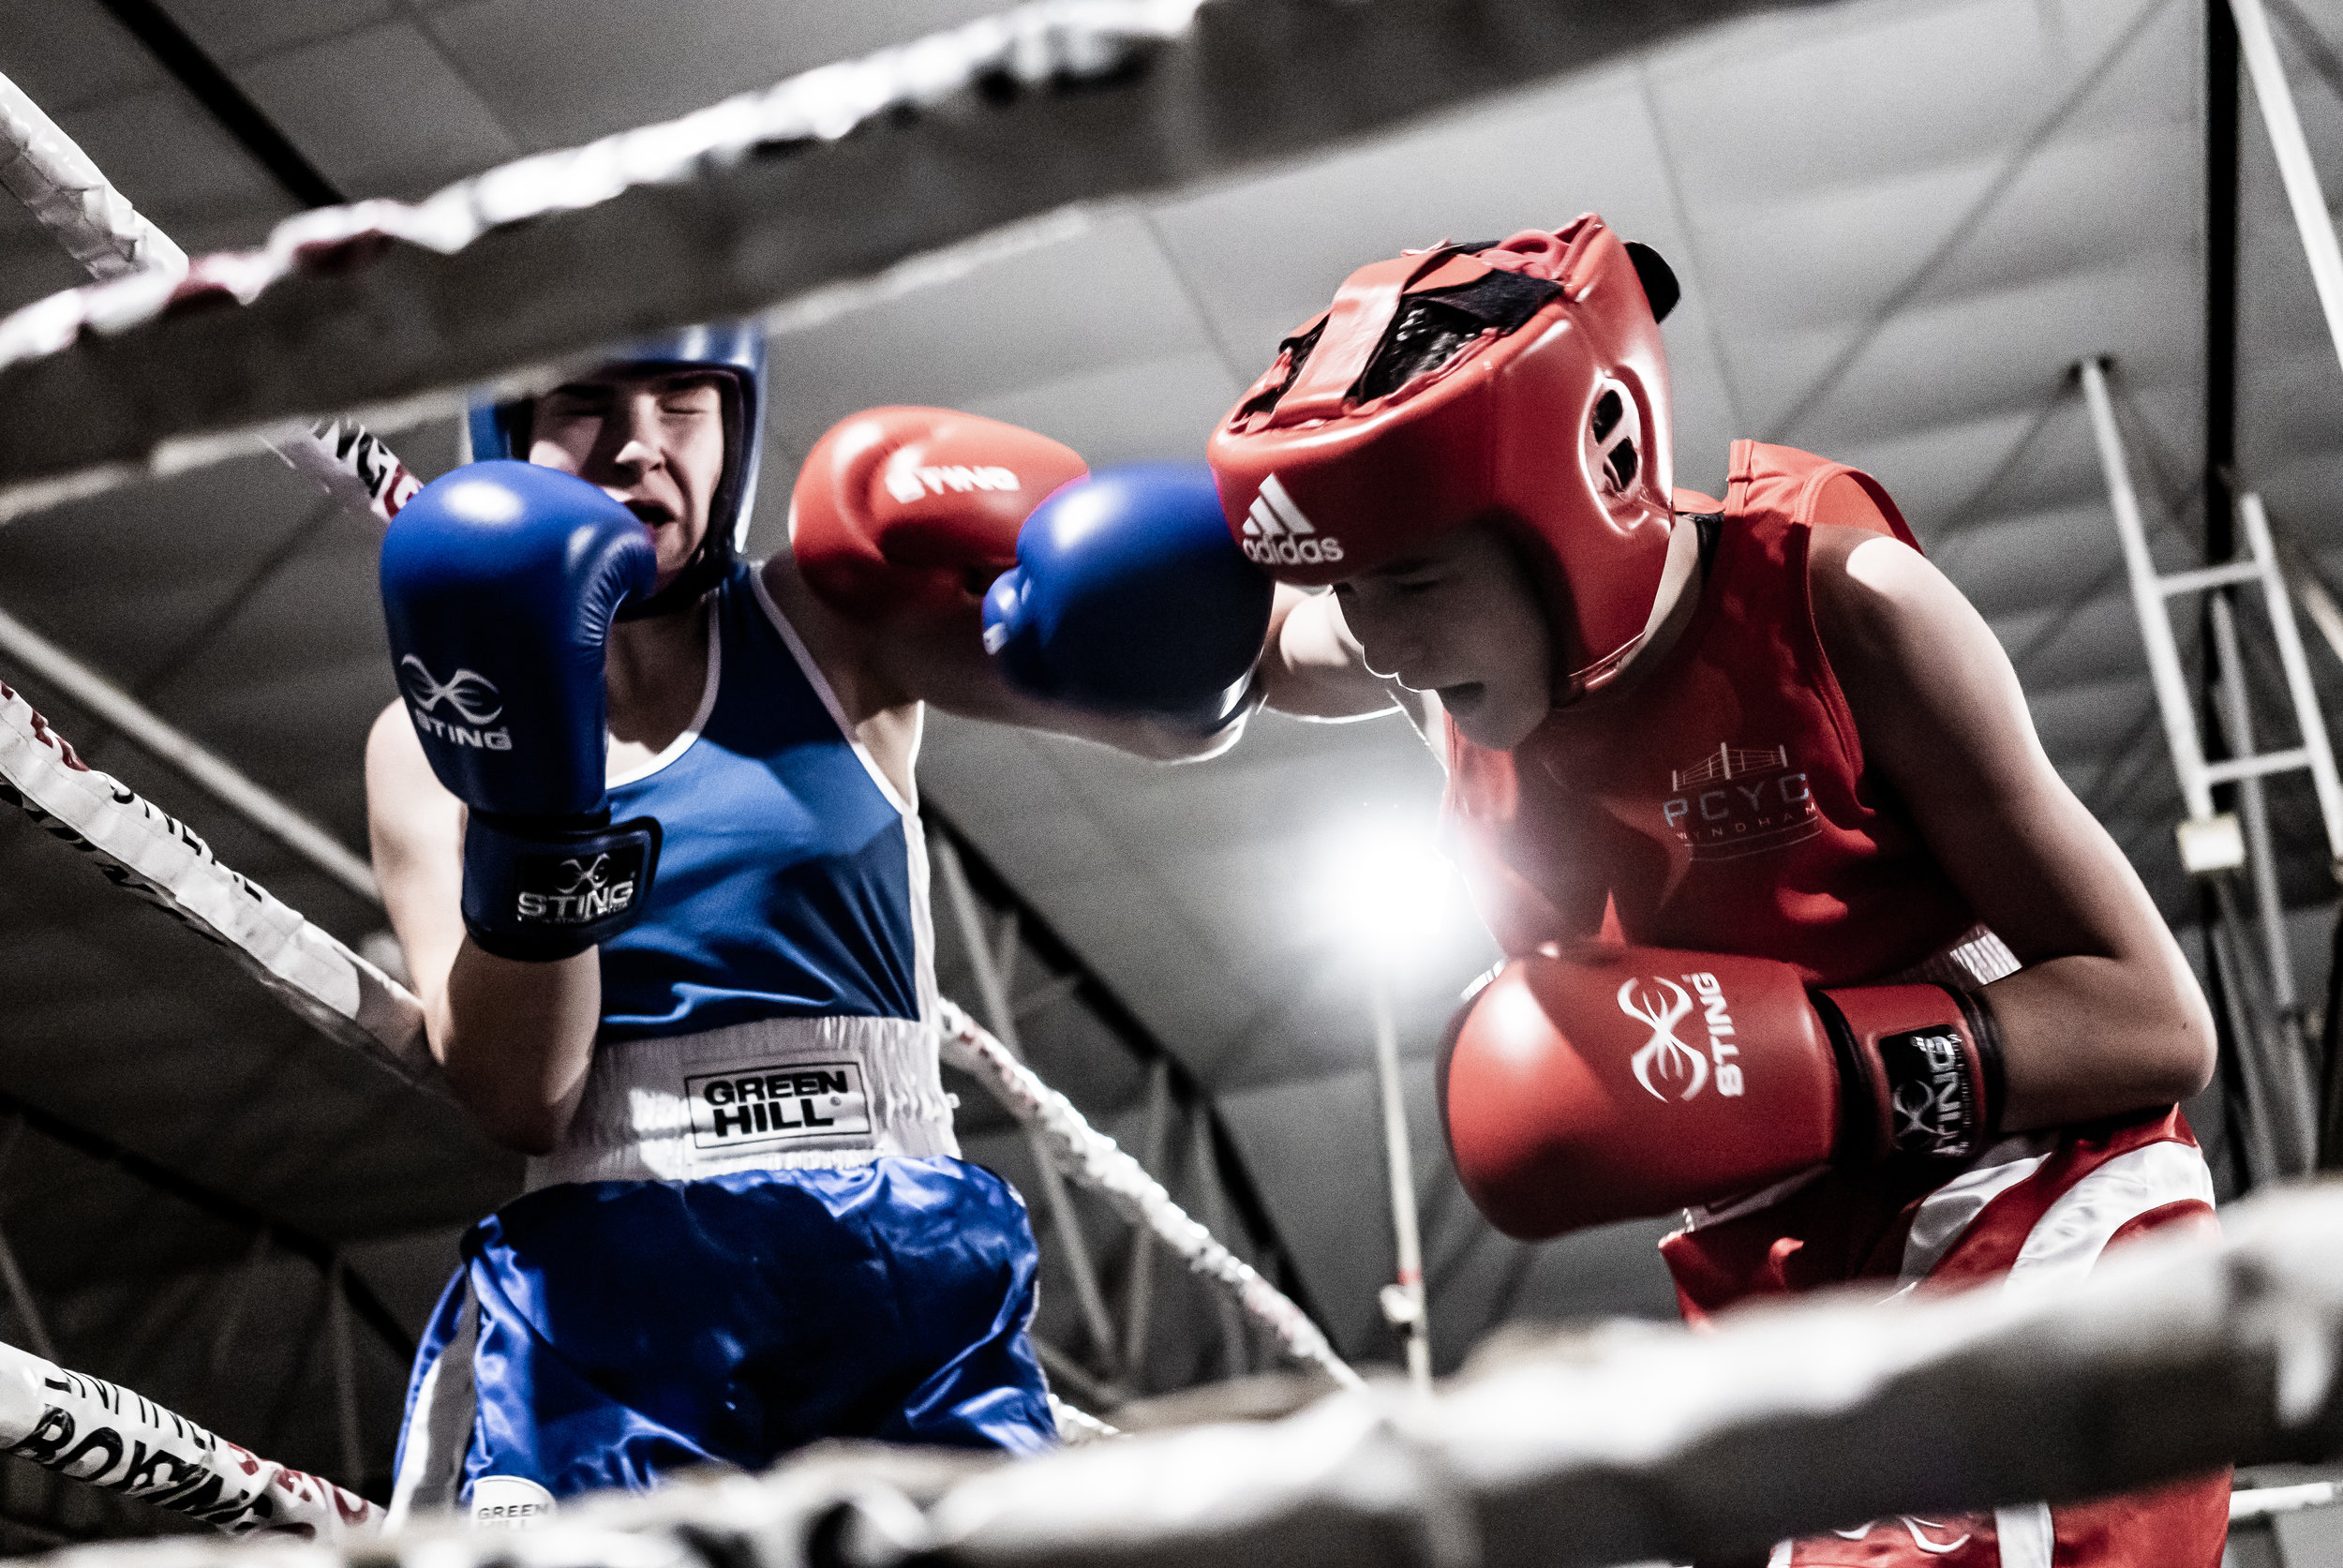
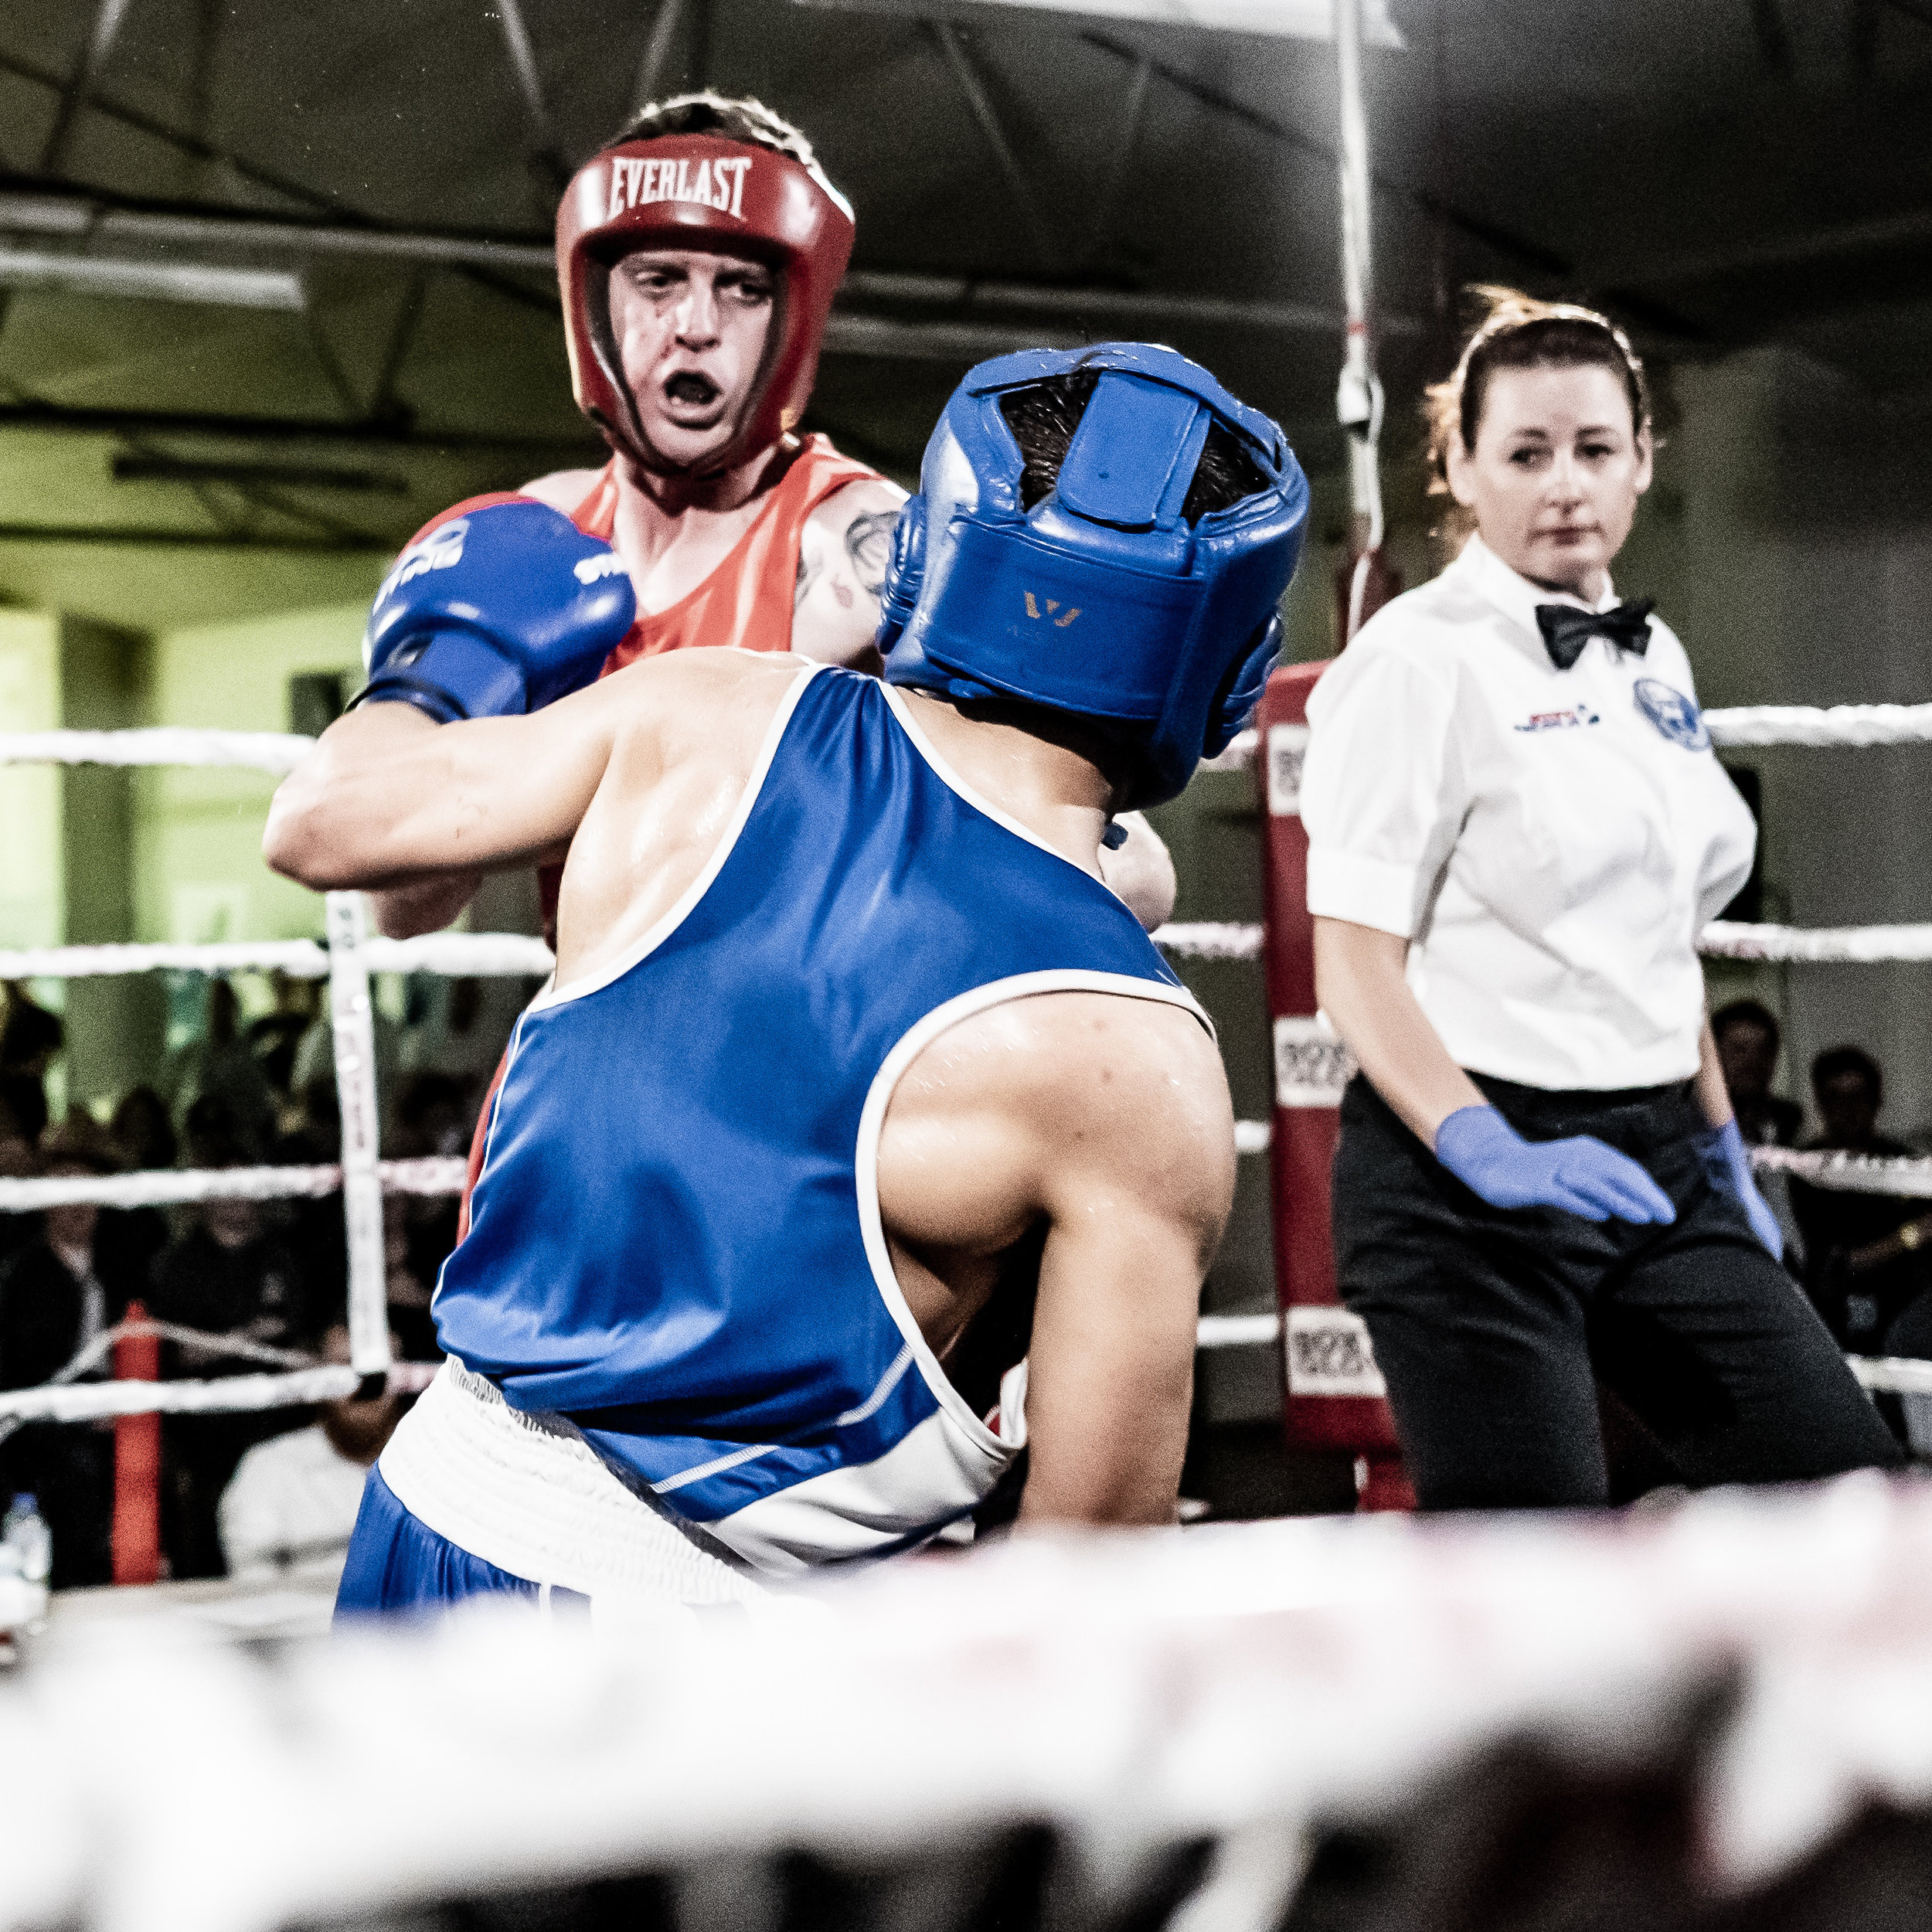
When the fights begin - things move fast. If you haven’t already been told - remember ABSOLUTELY NO FLASH. I cannot stress this enough. If you ignore this golden rule in fight photography, you will be out of there faster than you know what happened. It is extremely distracting - it can mean one split second which can advantage one boxer making the other boxer loose the fight. You don’t want to be that person.
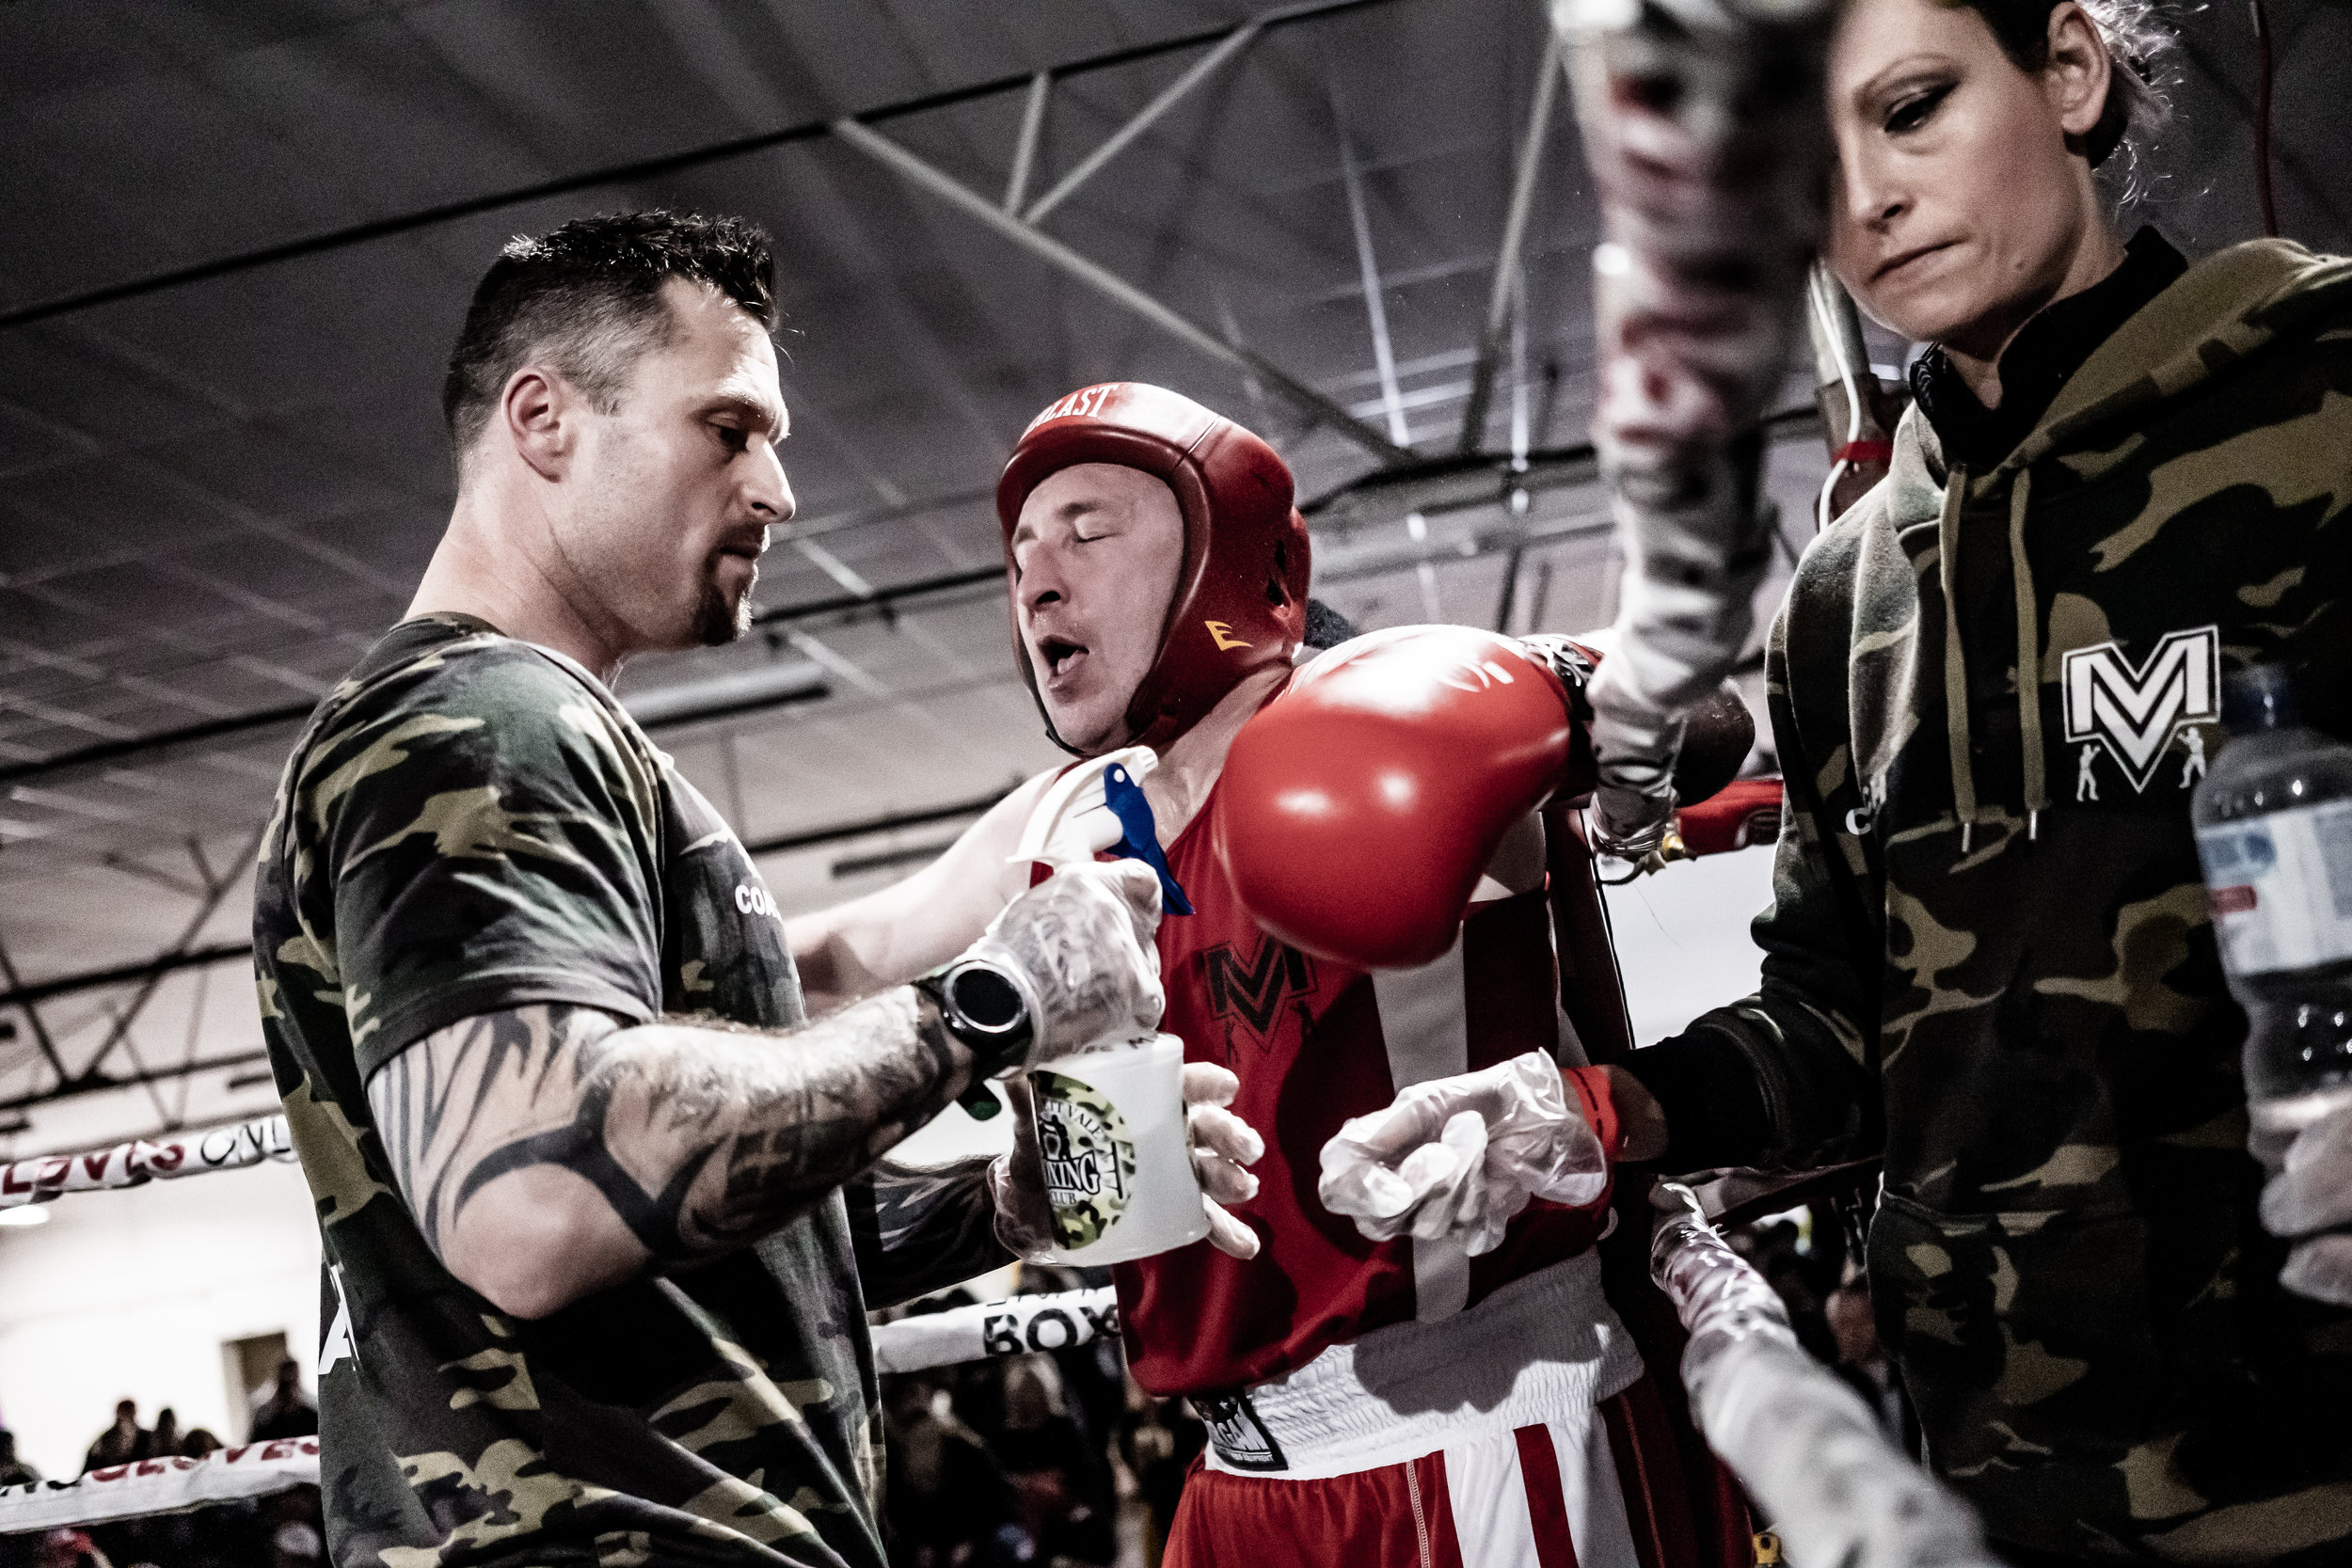
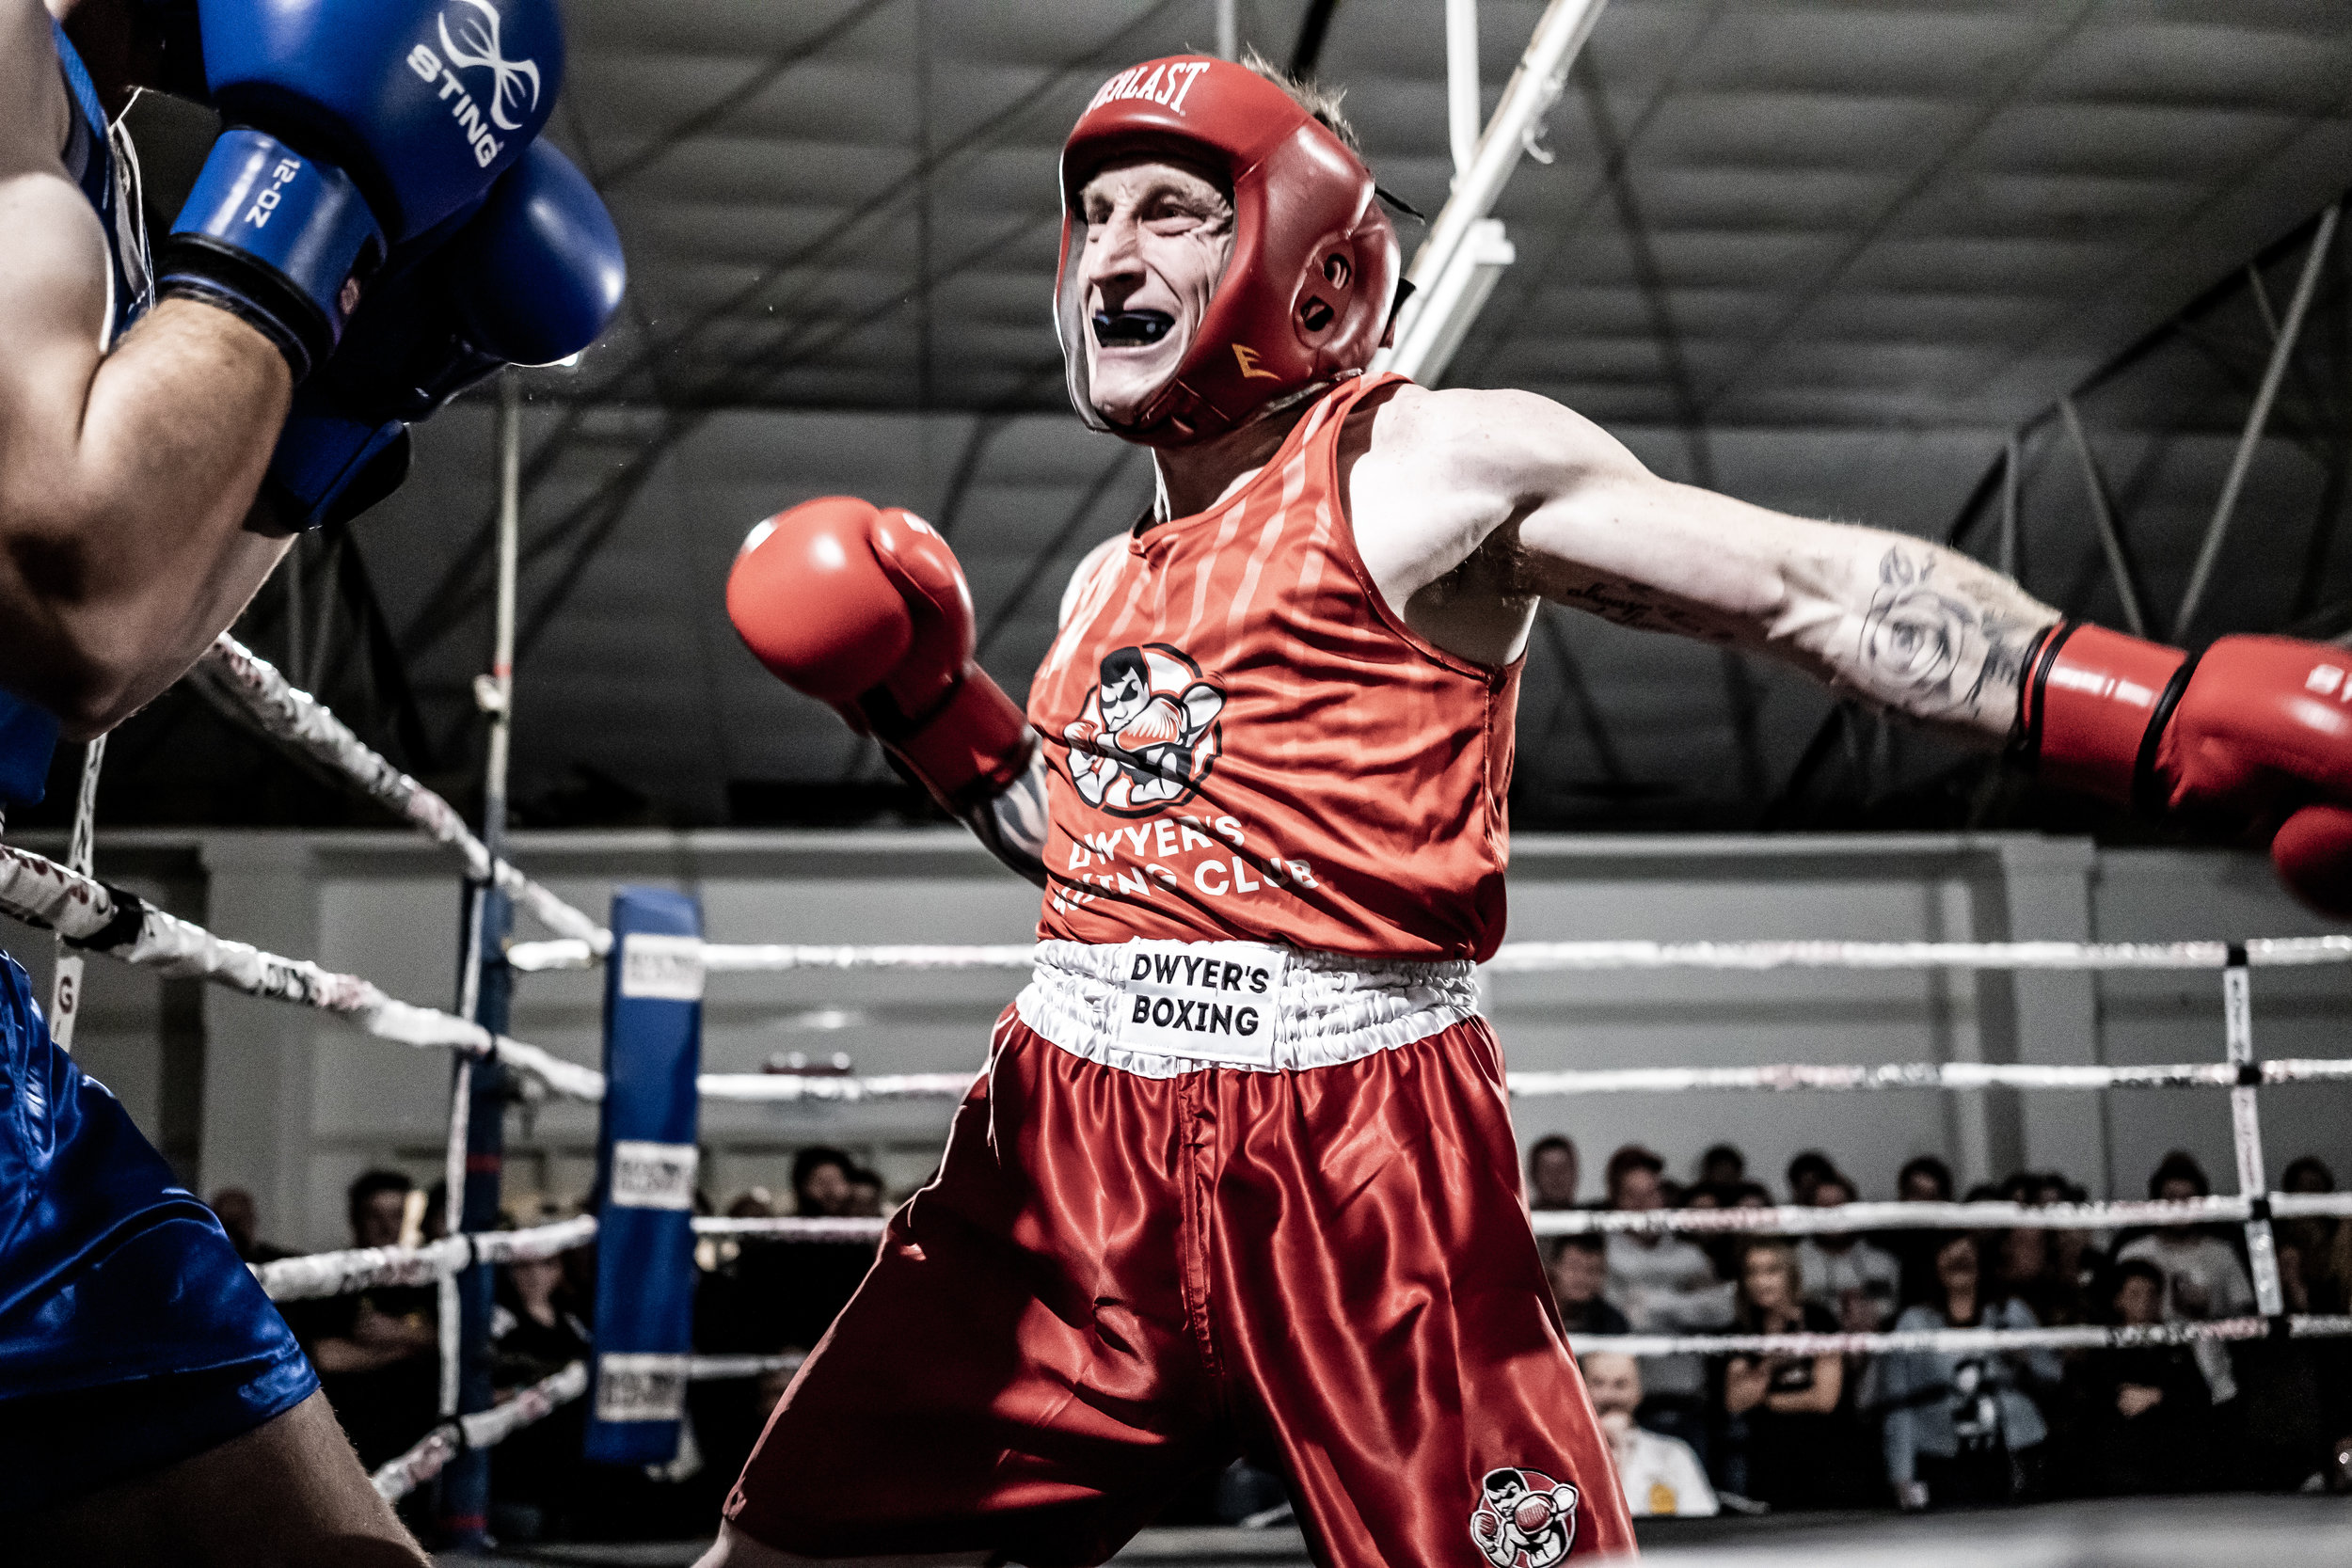
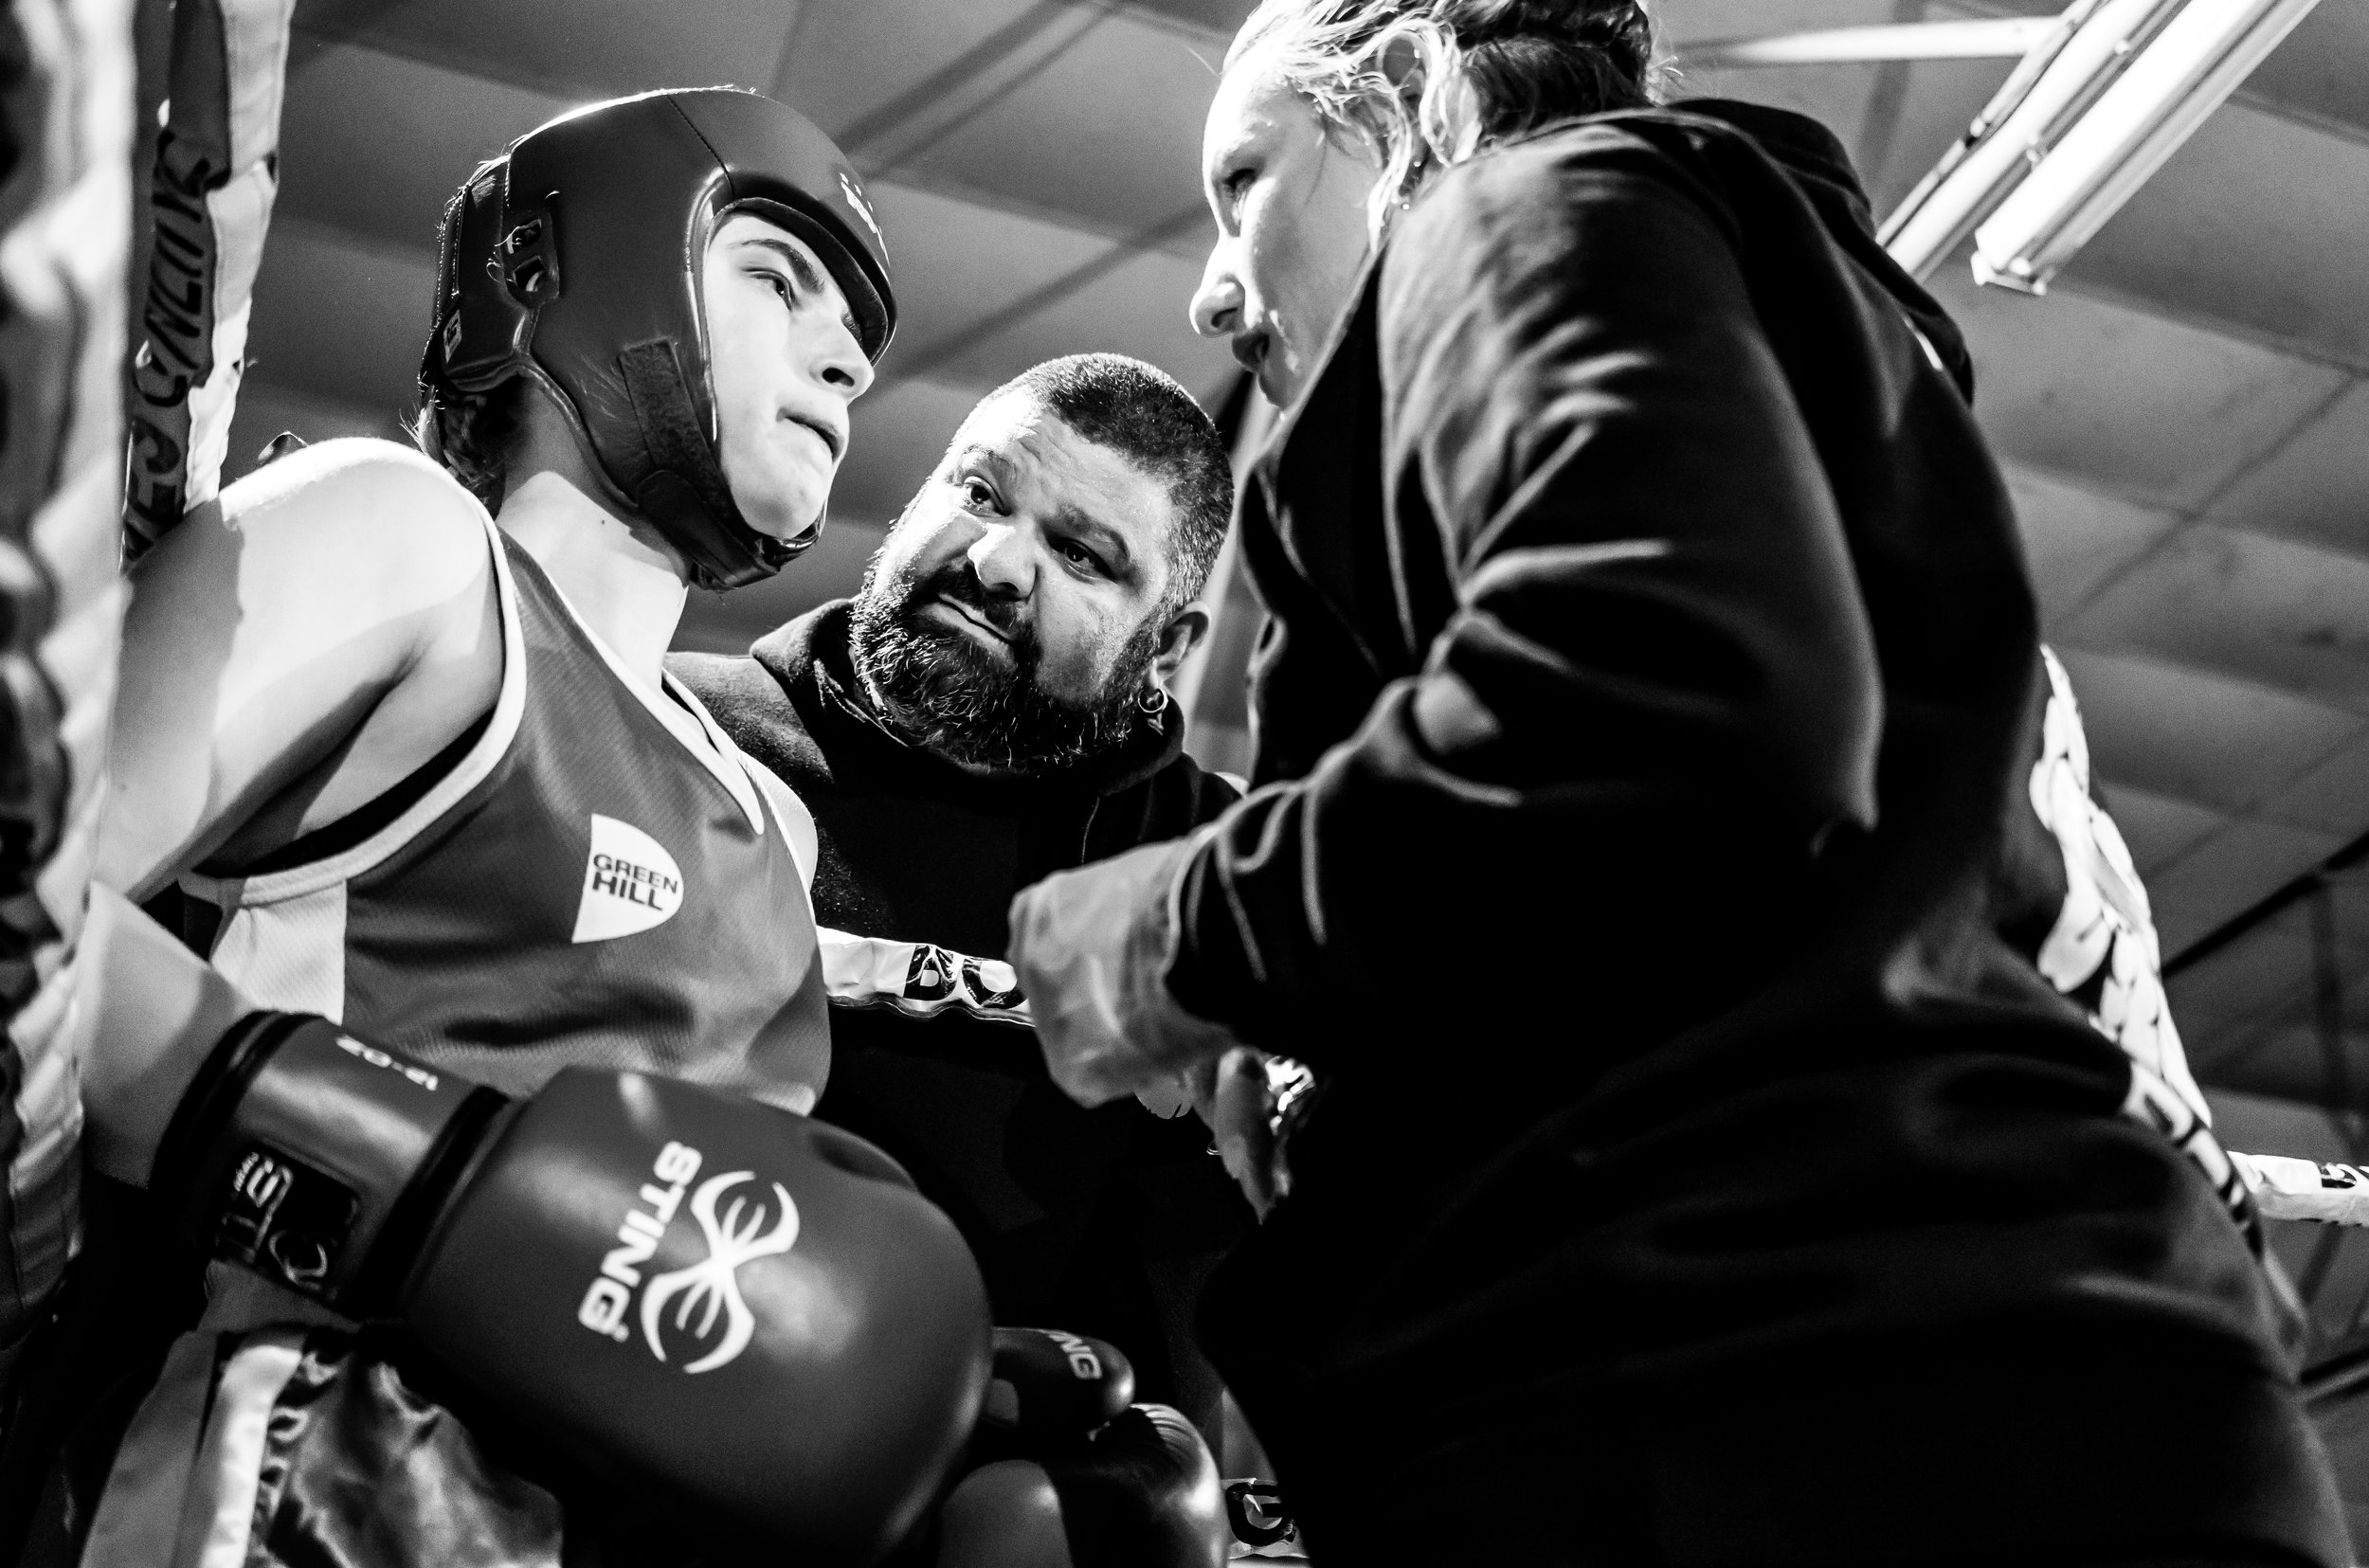
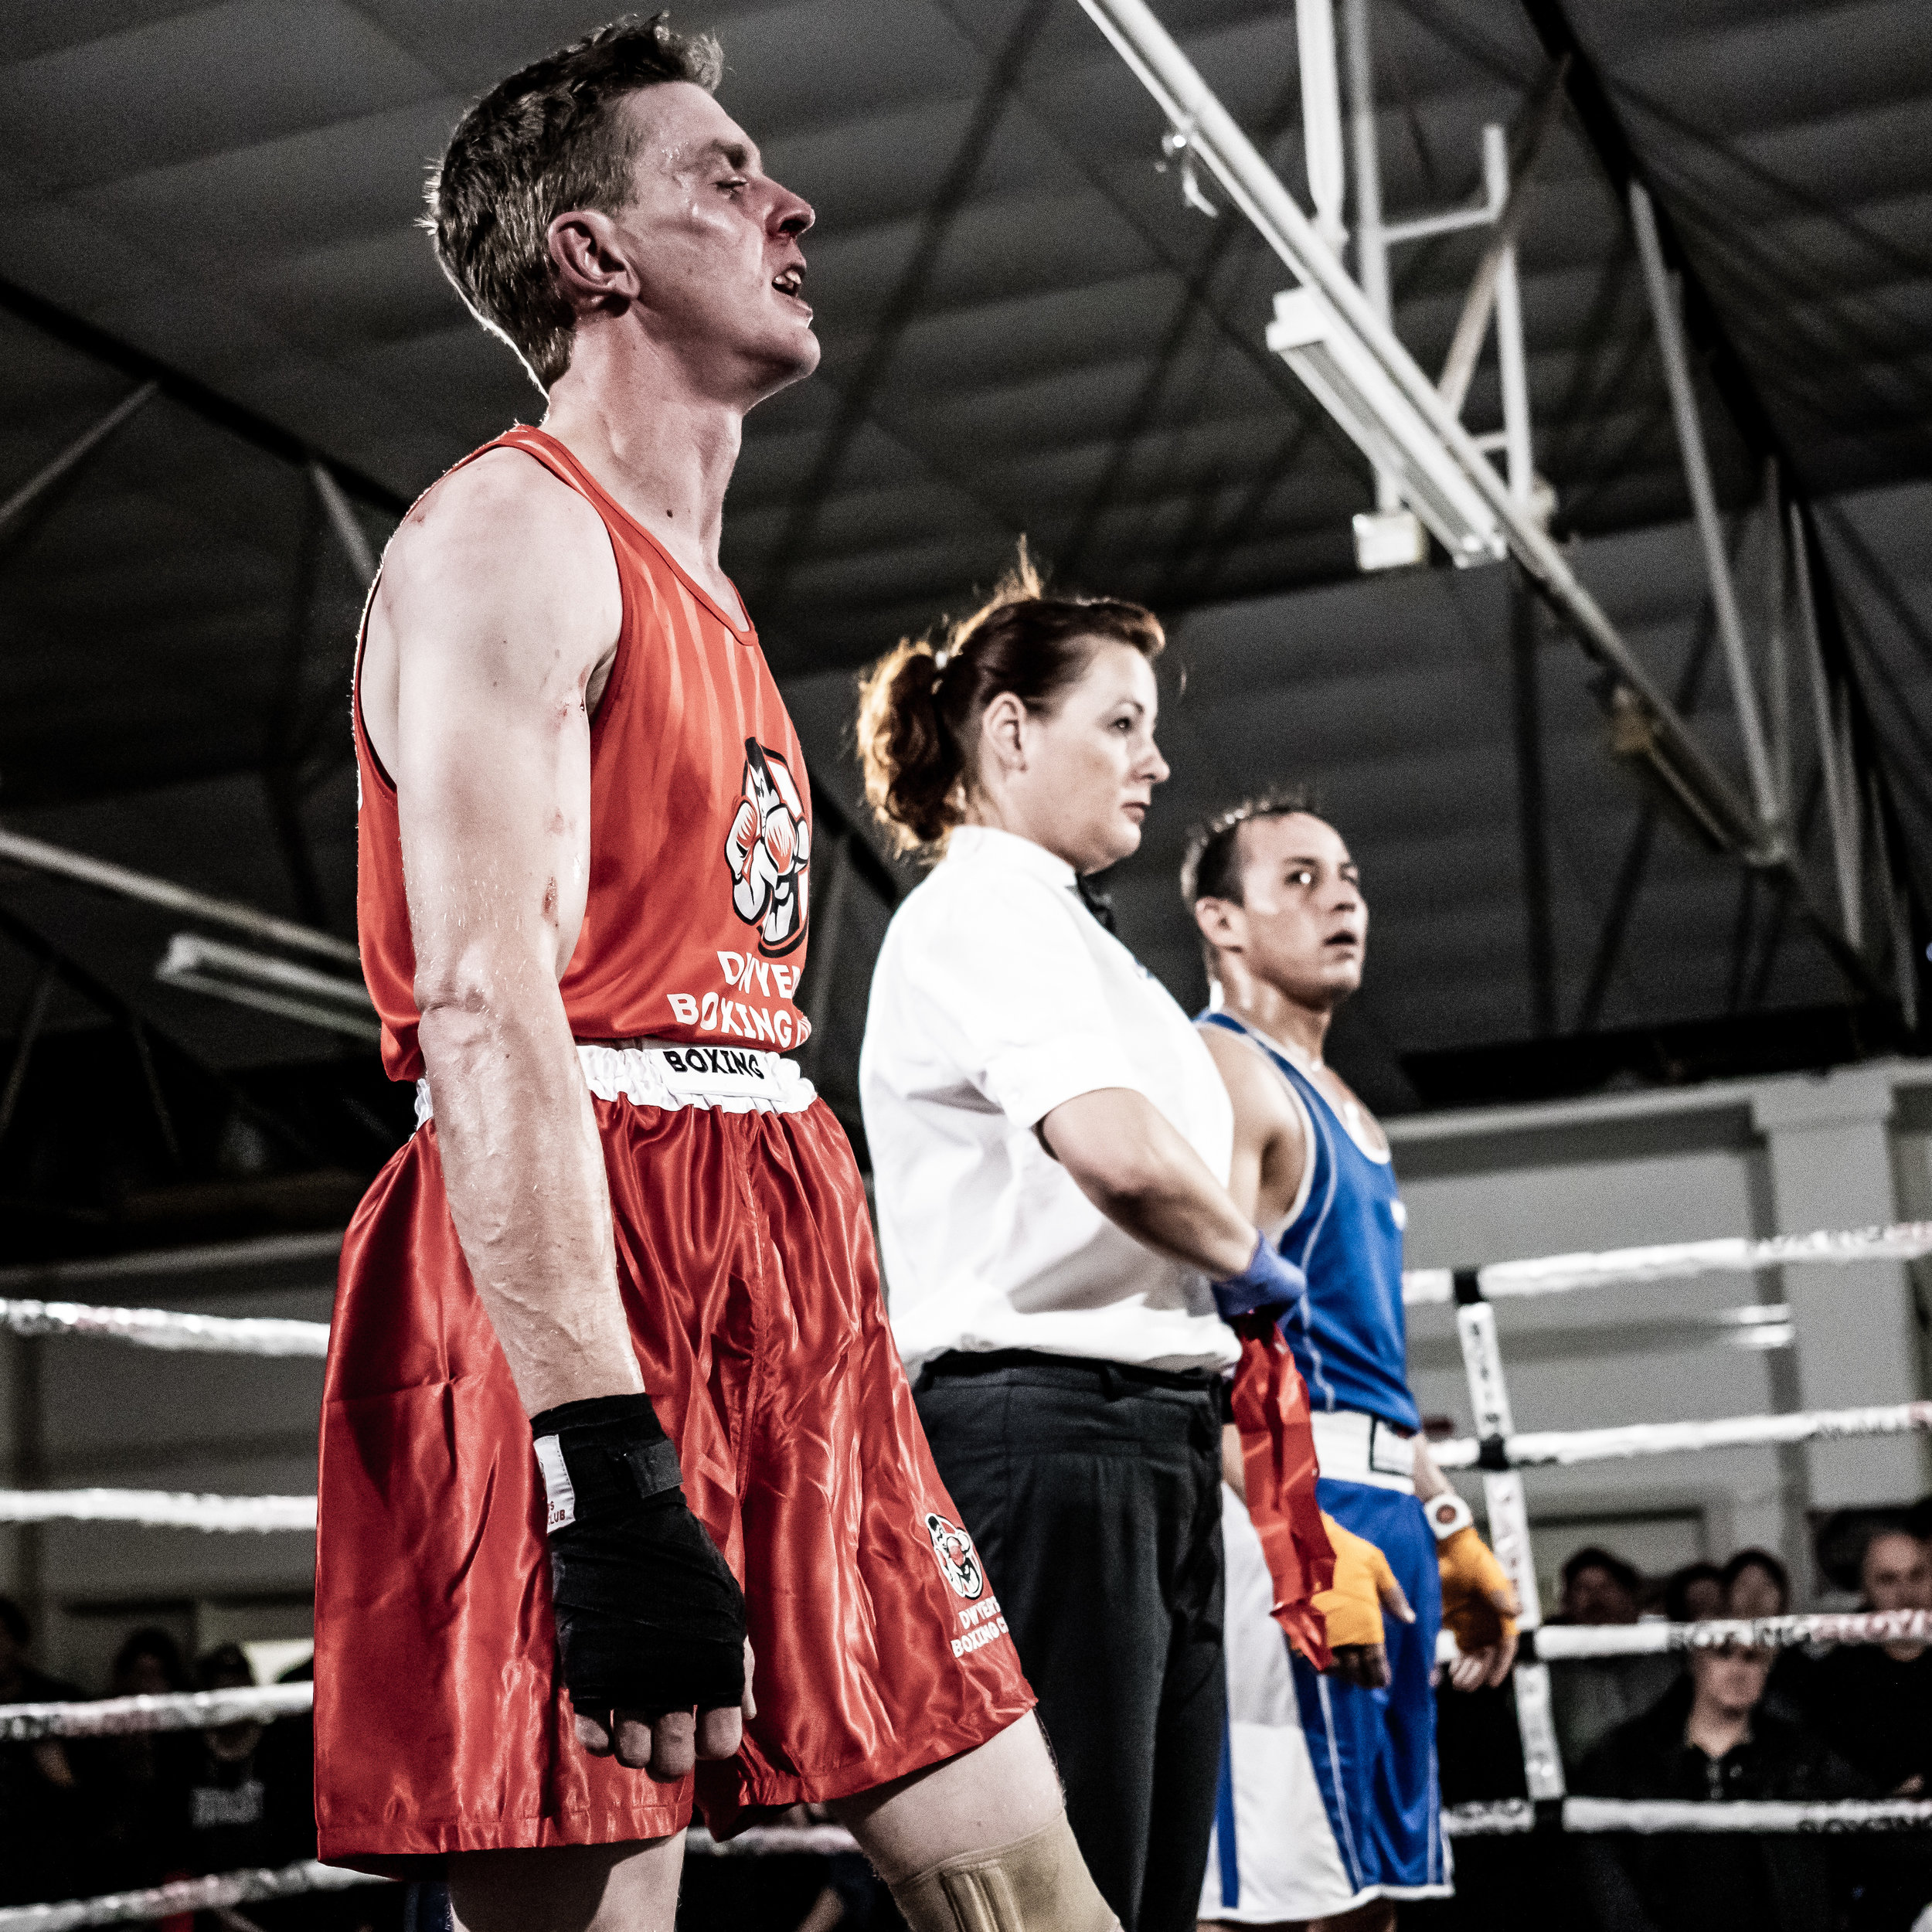
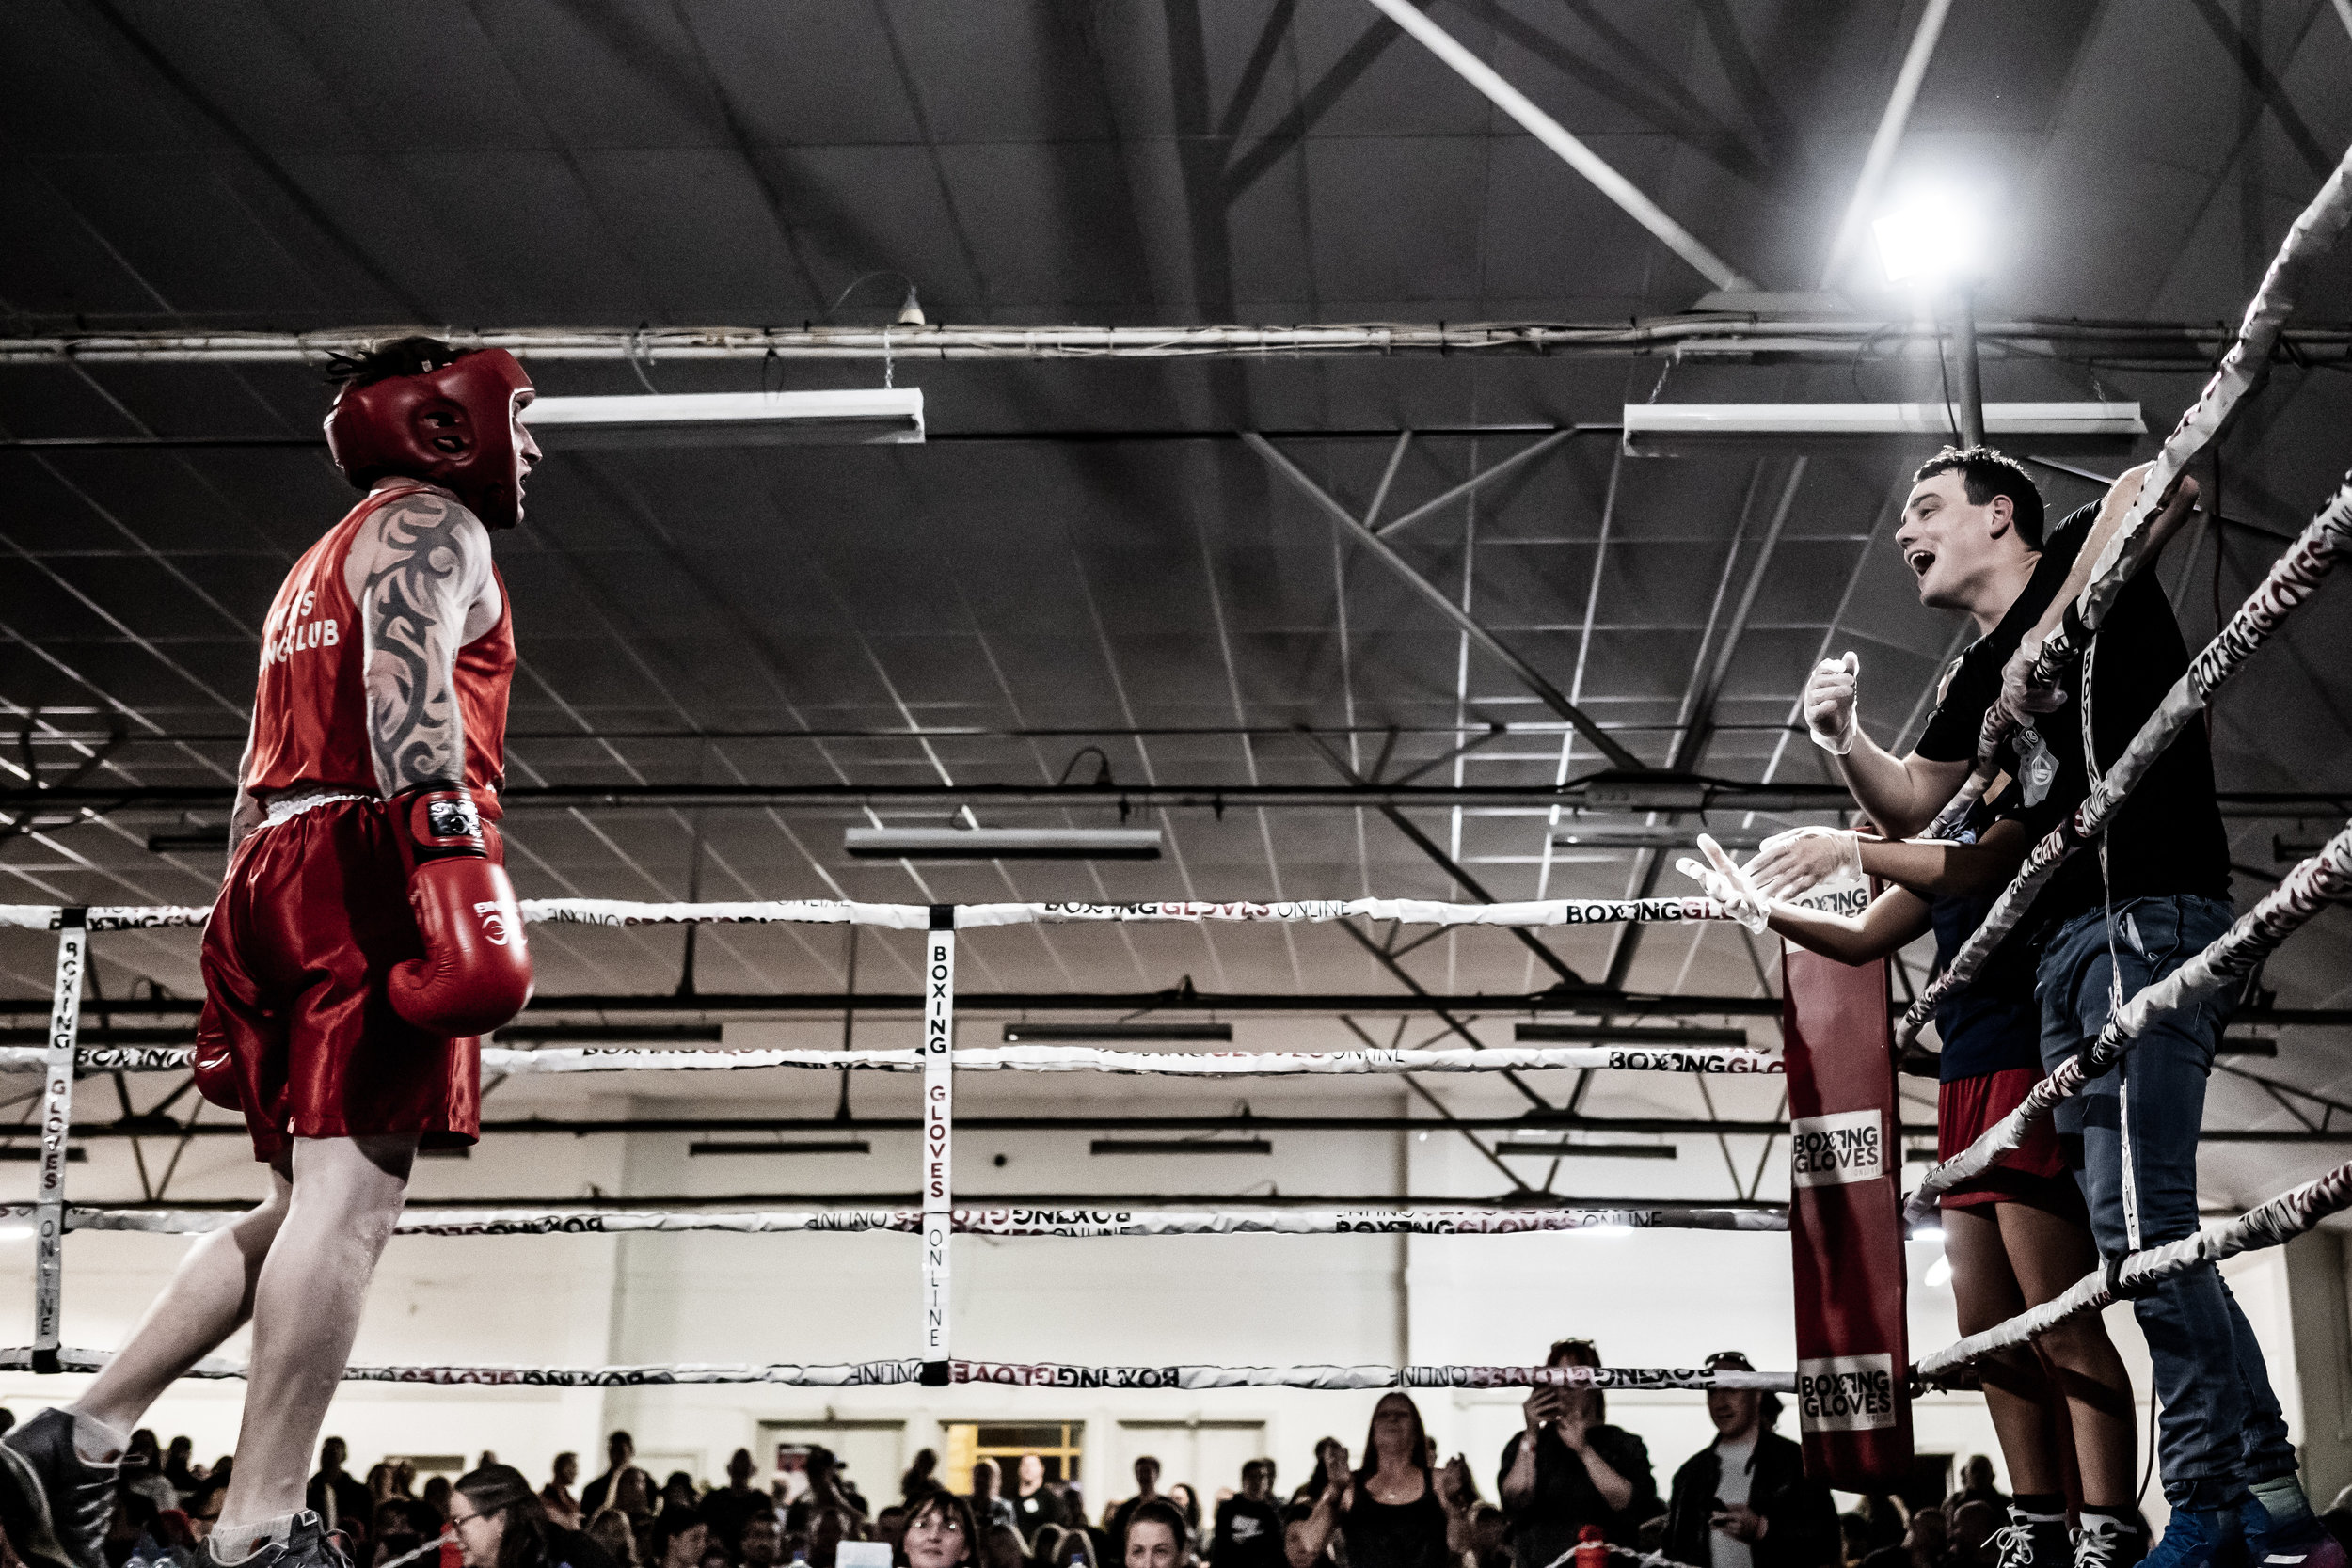
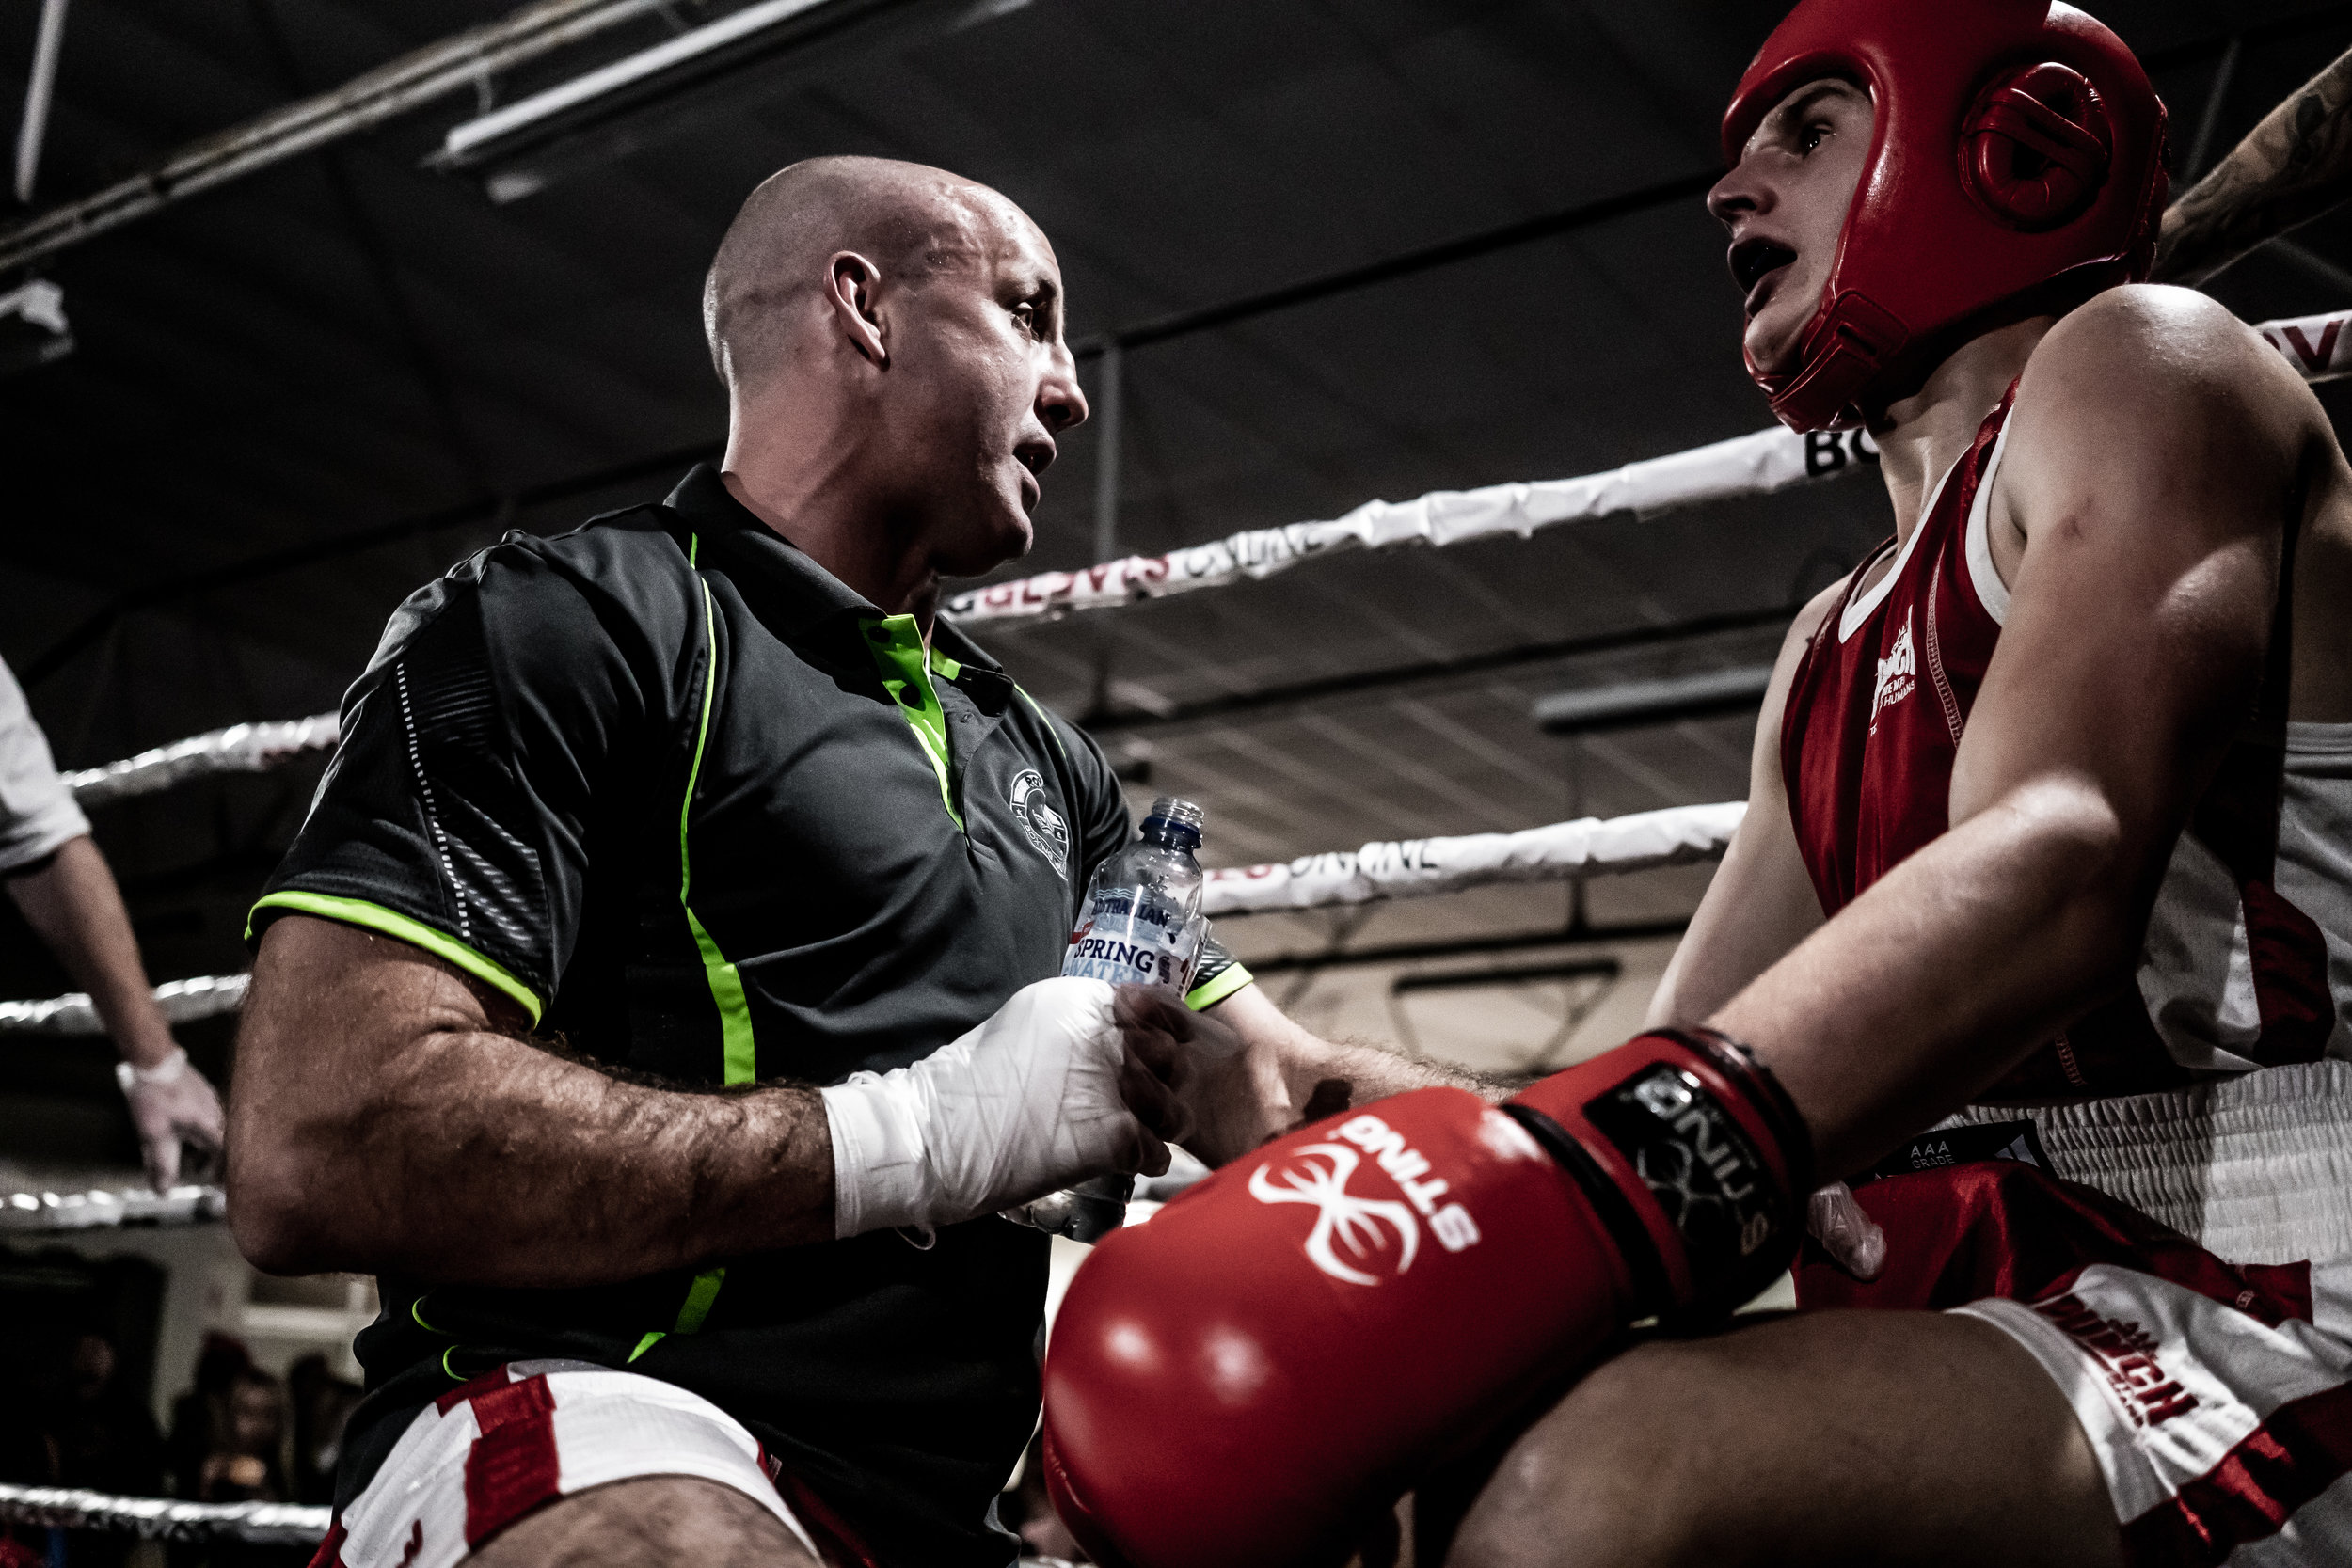
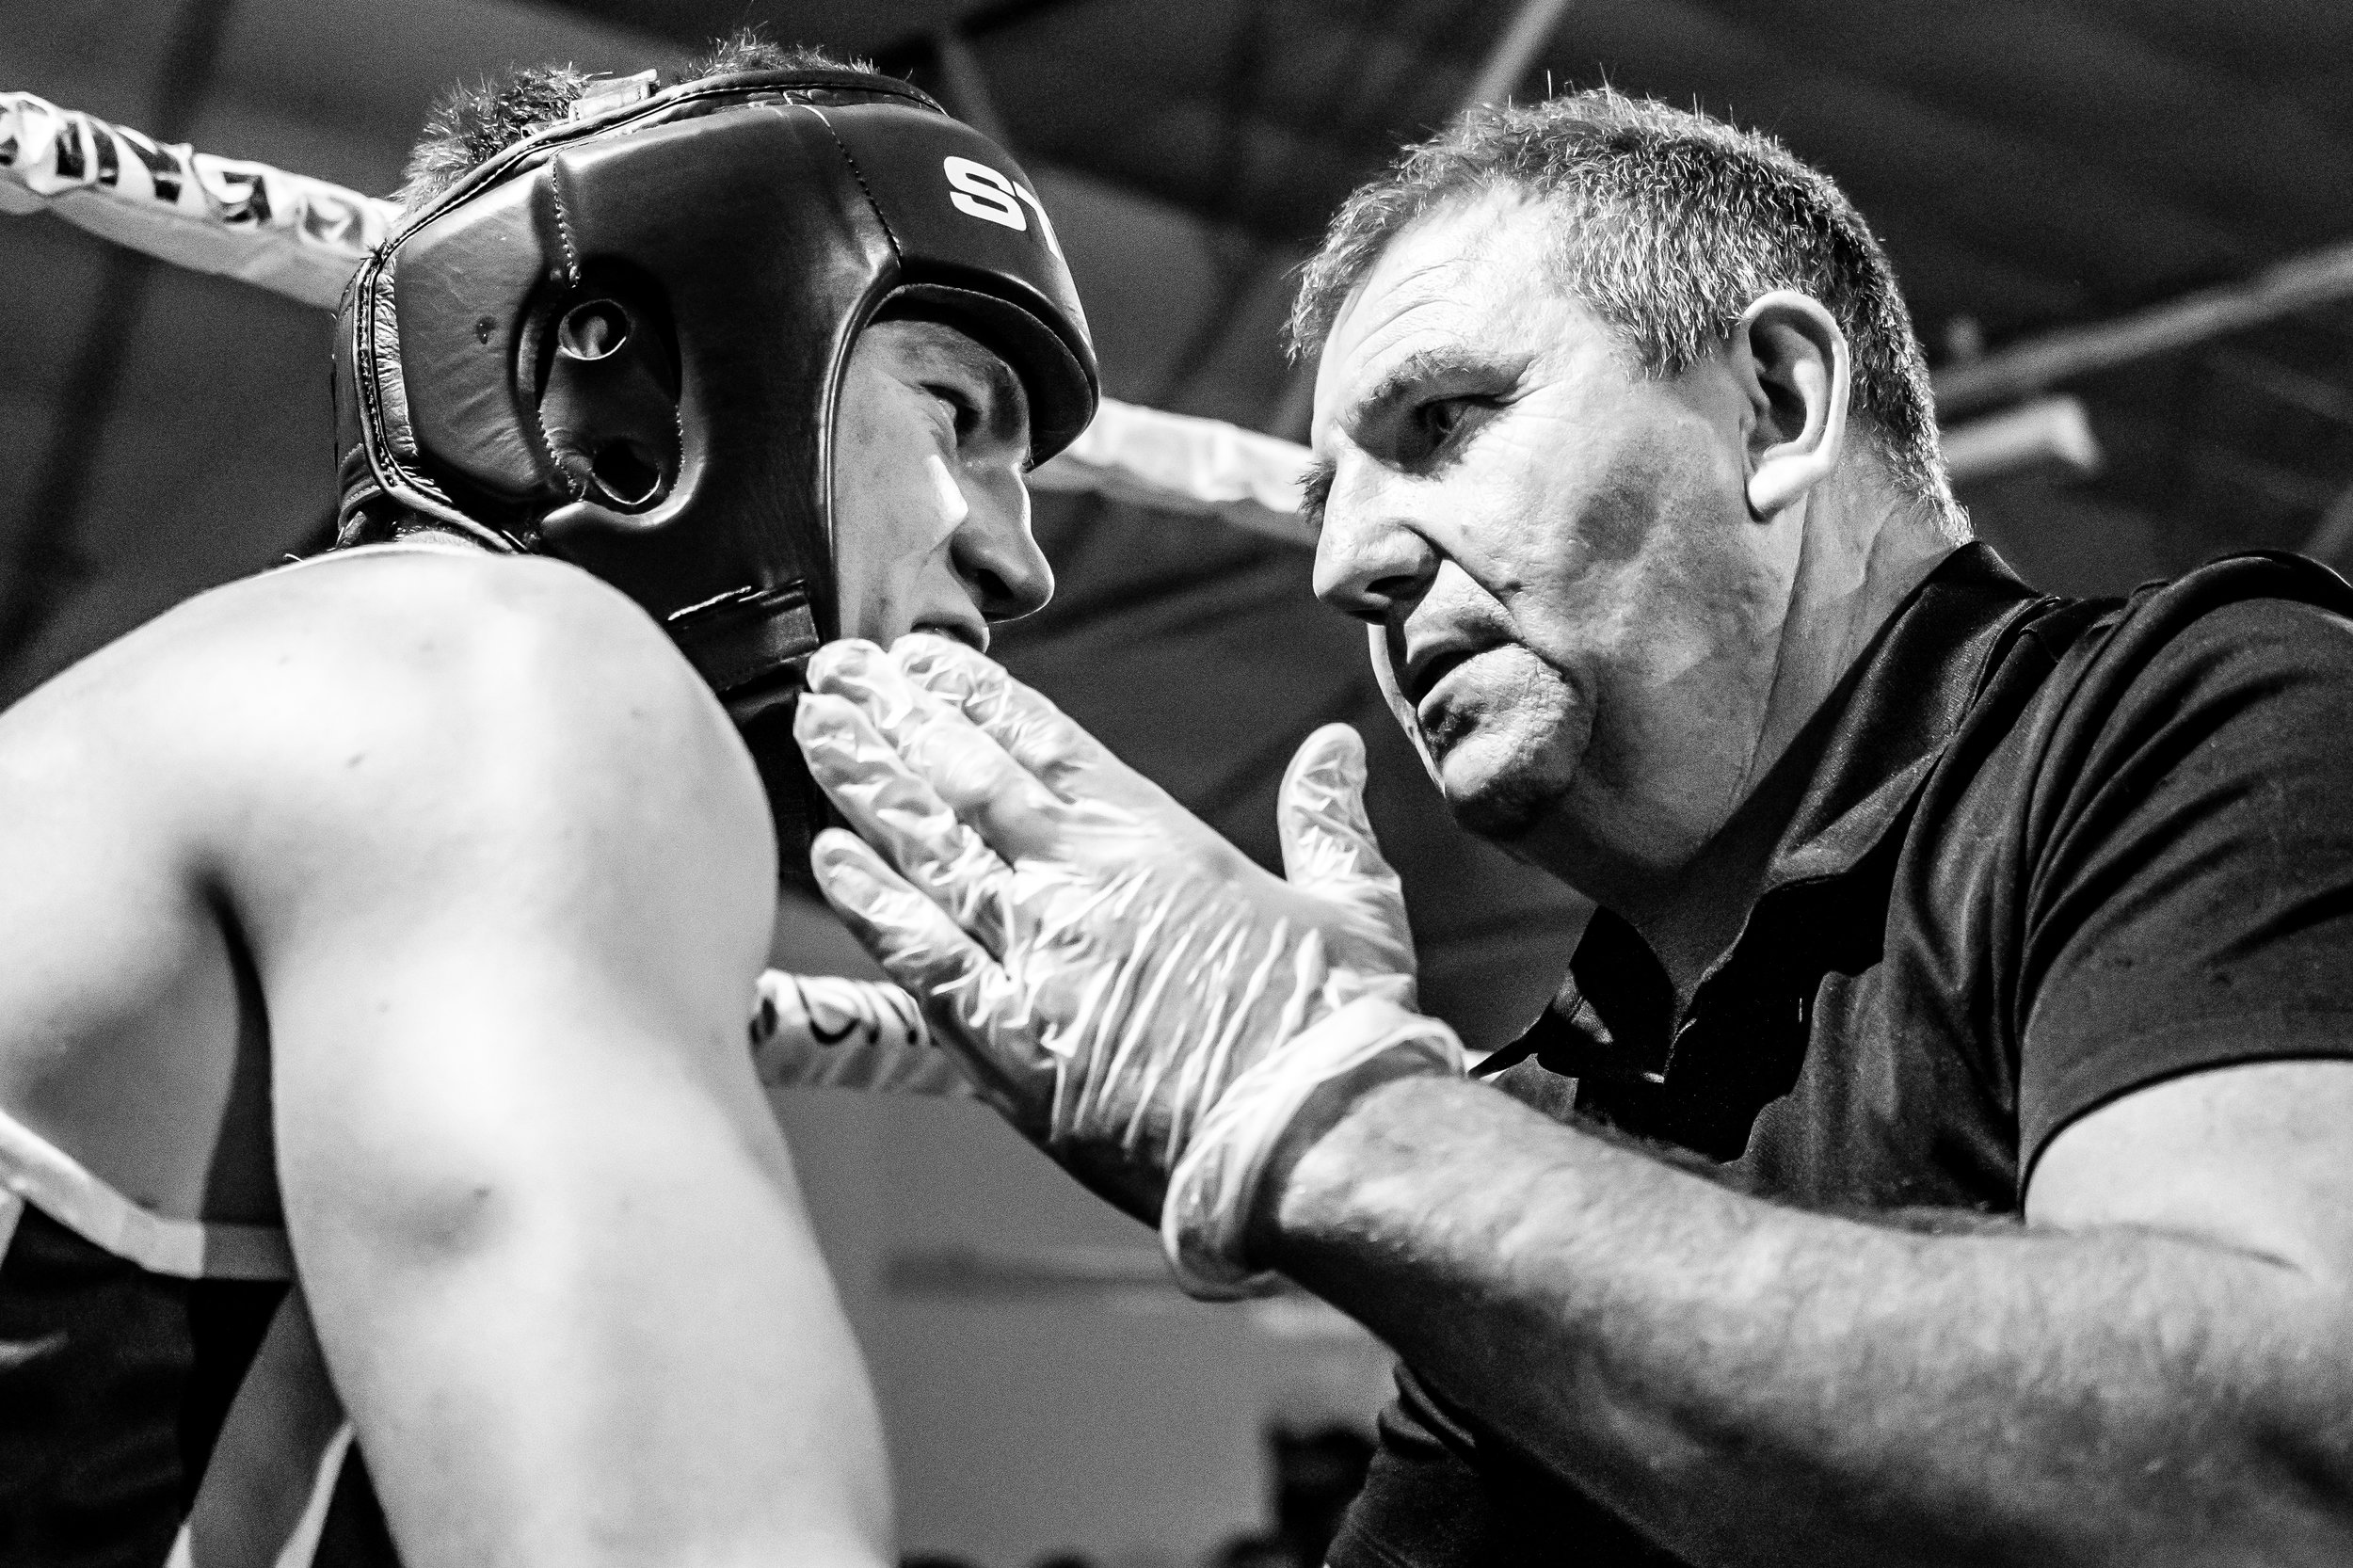
I tried using both the viewfinder AND the live-view to frame the subjects depending on the action taking place - Try and get different angles, as taking the images all at the same perspective will effectively give a very boring batch of images to work with and edit. Try thinking of each fight as a story within its own right. Take images of the fight, the coaches, the boxers in the corner between the bouts. Remember that even though the boxing IS about the boxers - it is also about those that support, encourage, coach and help the fighters. This will be greatly appreciated by many.


I highly recommend taking images in RAW as you will have more latitude in editing the highlights and shadows. Using Lightrooms editing tools will help remove much of the noise and grain associated with the images. This is another article in itself which can go on for some time, but if you are interested - I have considered creating a quick YouTube tutorial on how to do this as I find watching a video is far more easily understood than following written instructions.
Overall, enjoy your time, be prepared for many images that will need editing (I had approximately a 5% keeper rate) and don’t get disheartened. As with everything, you need to experiment and find out what does and doesn’t work. I hope this brief outline will give some a starting point in taking images that will lead to some great shots to be proud of.

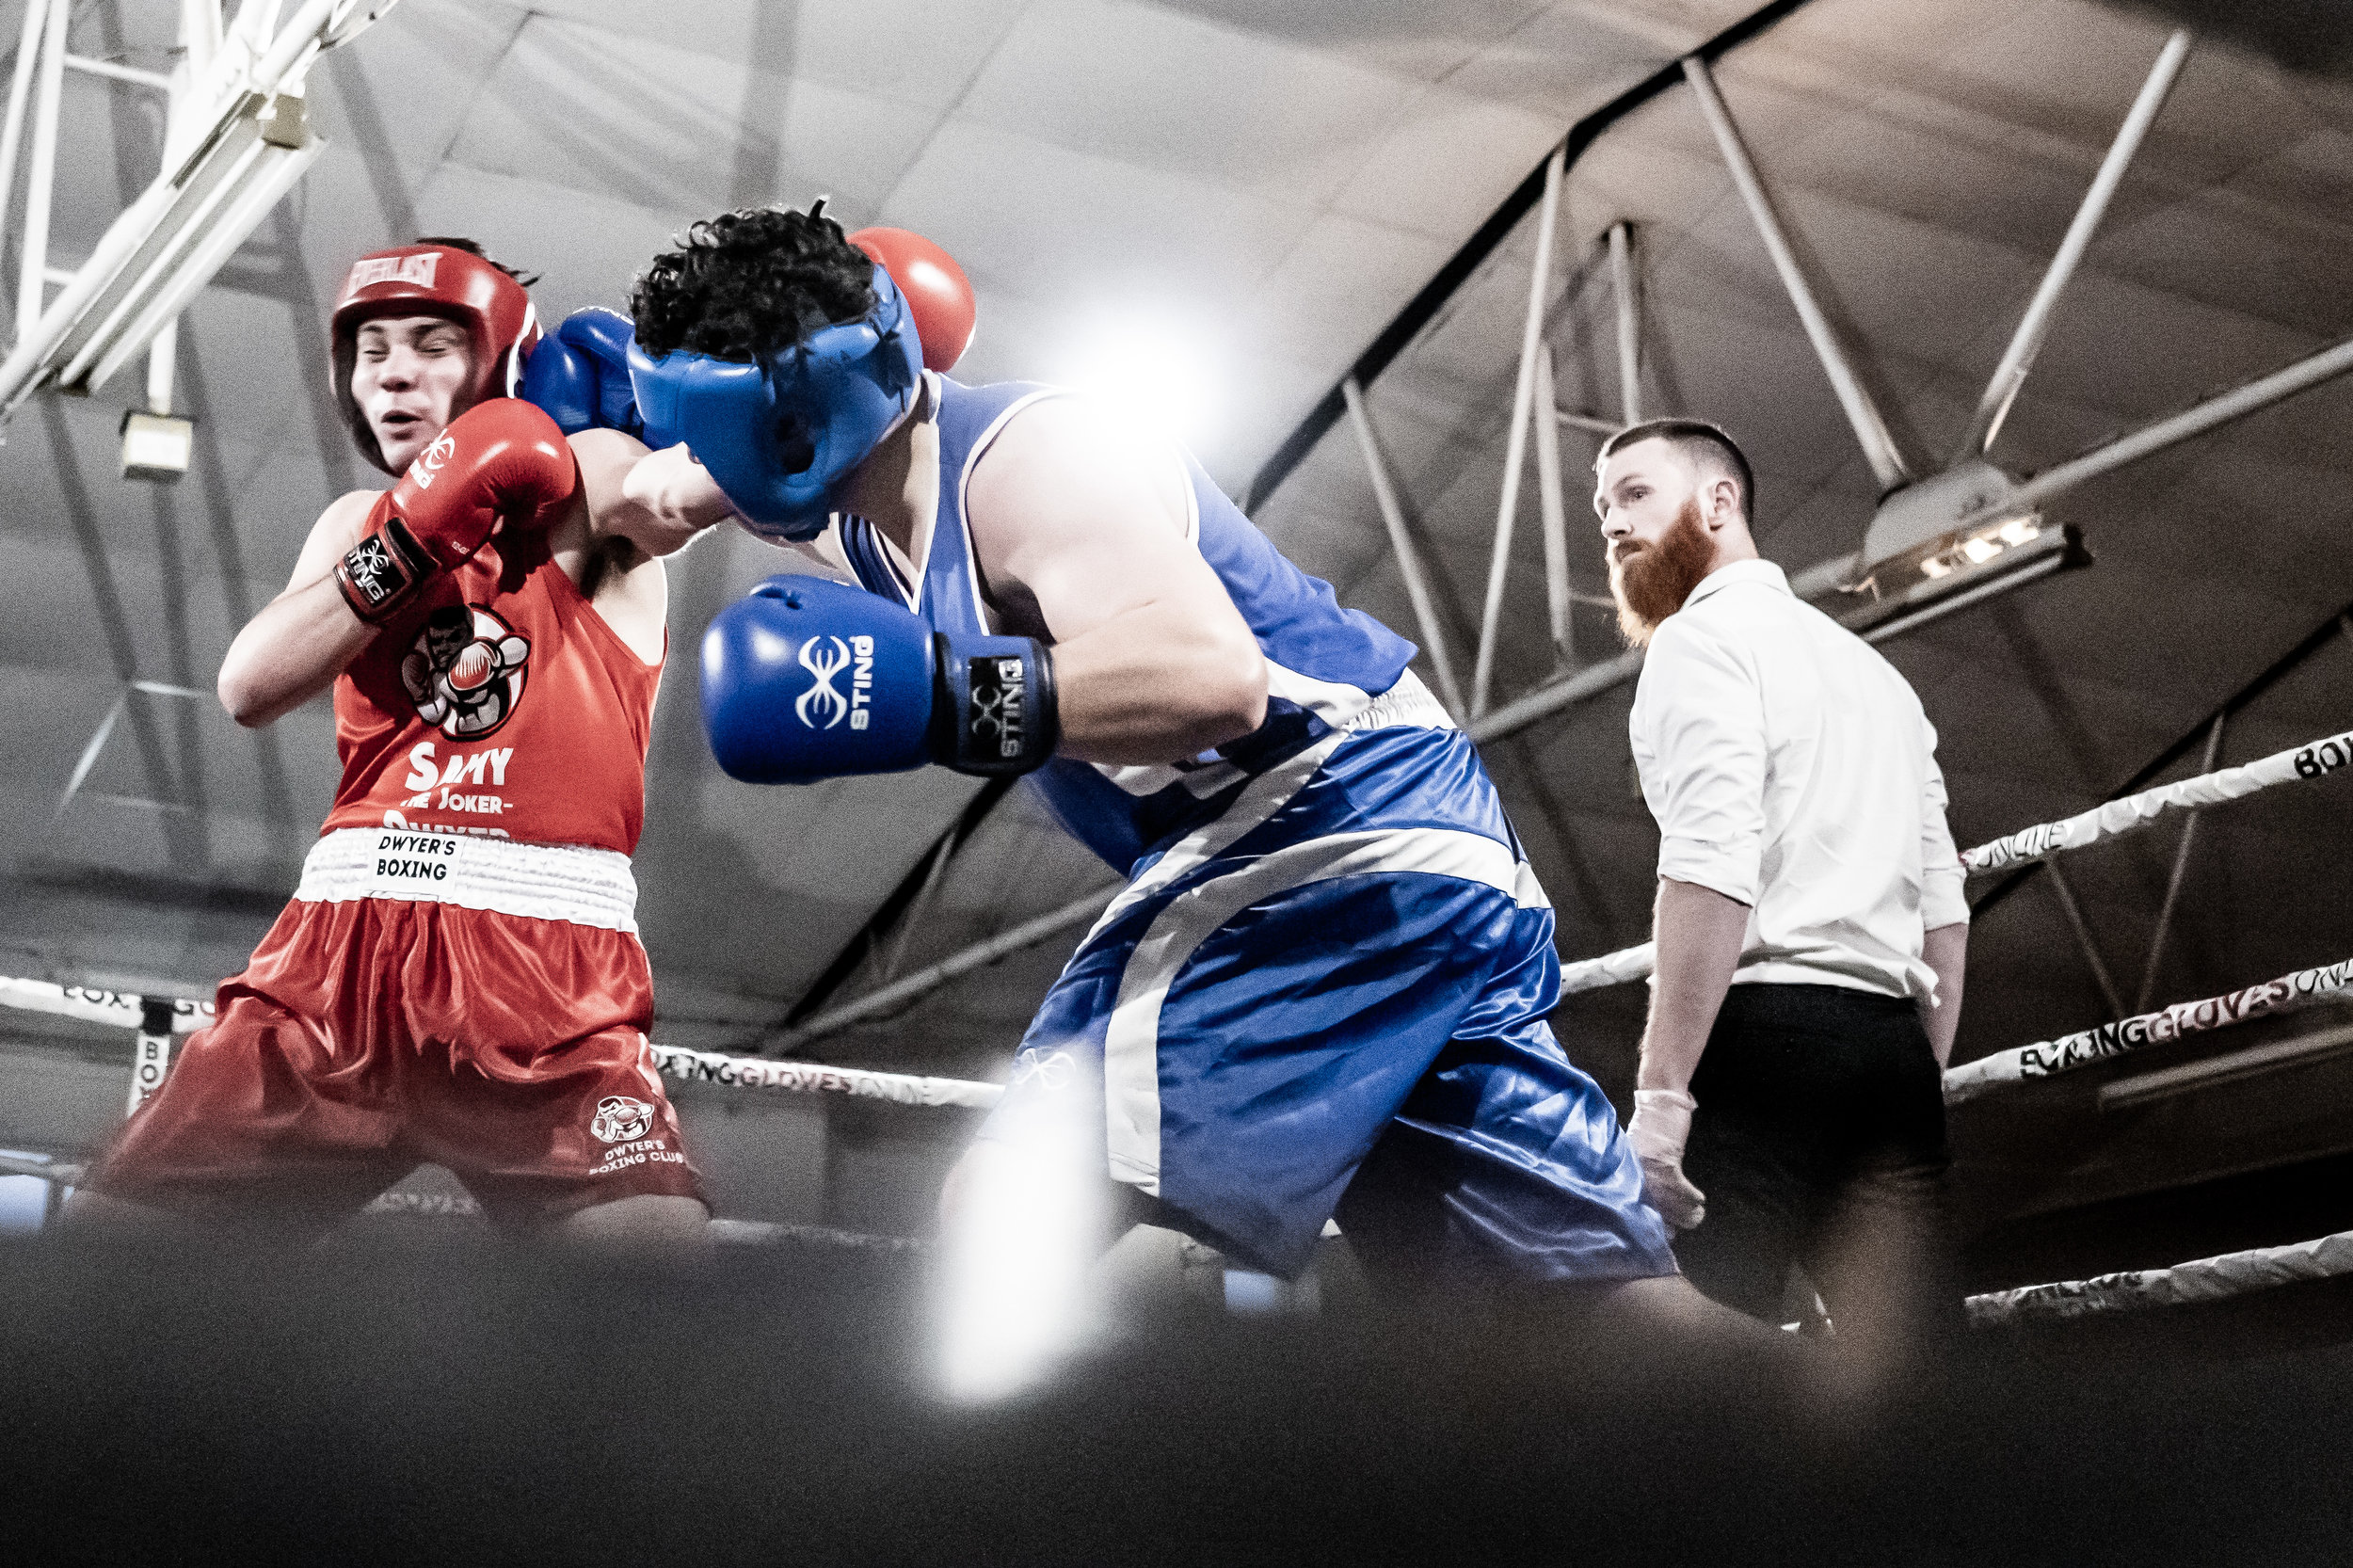
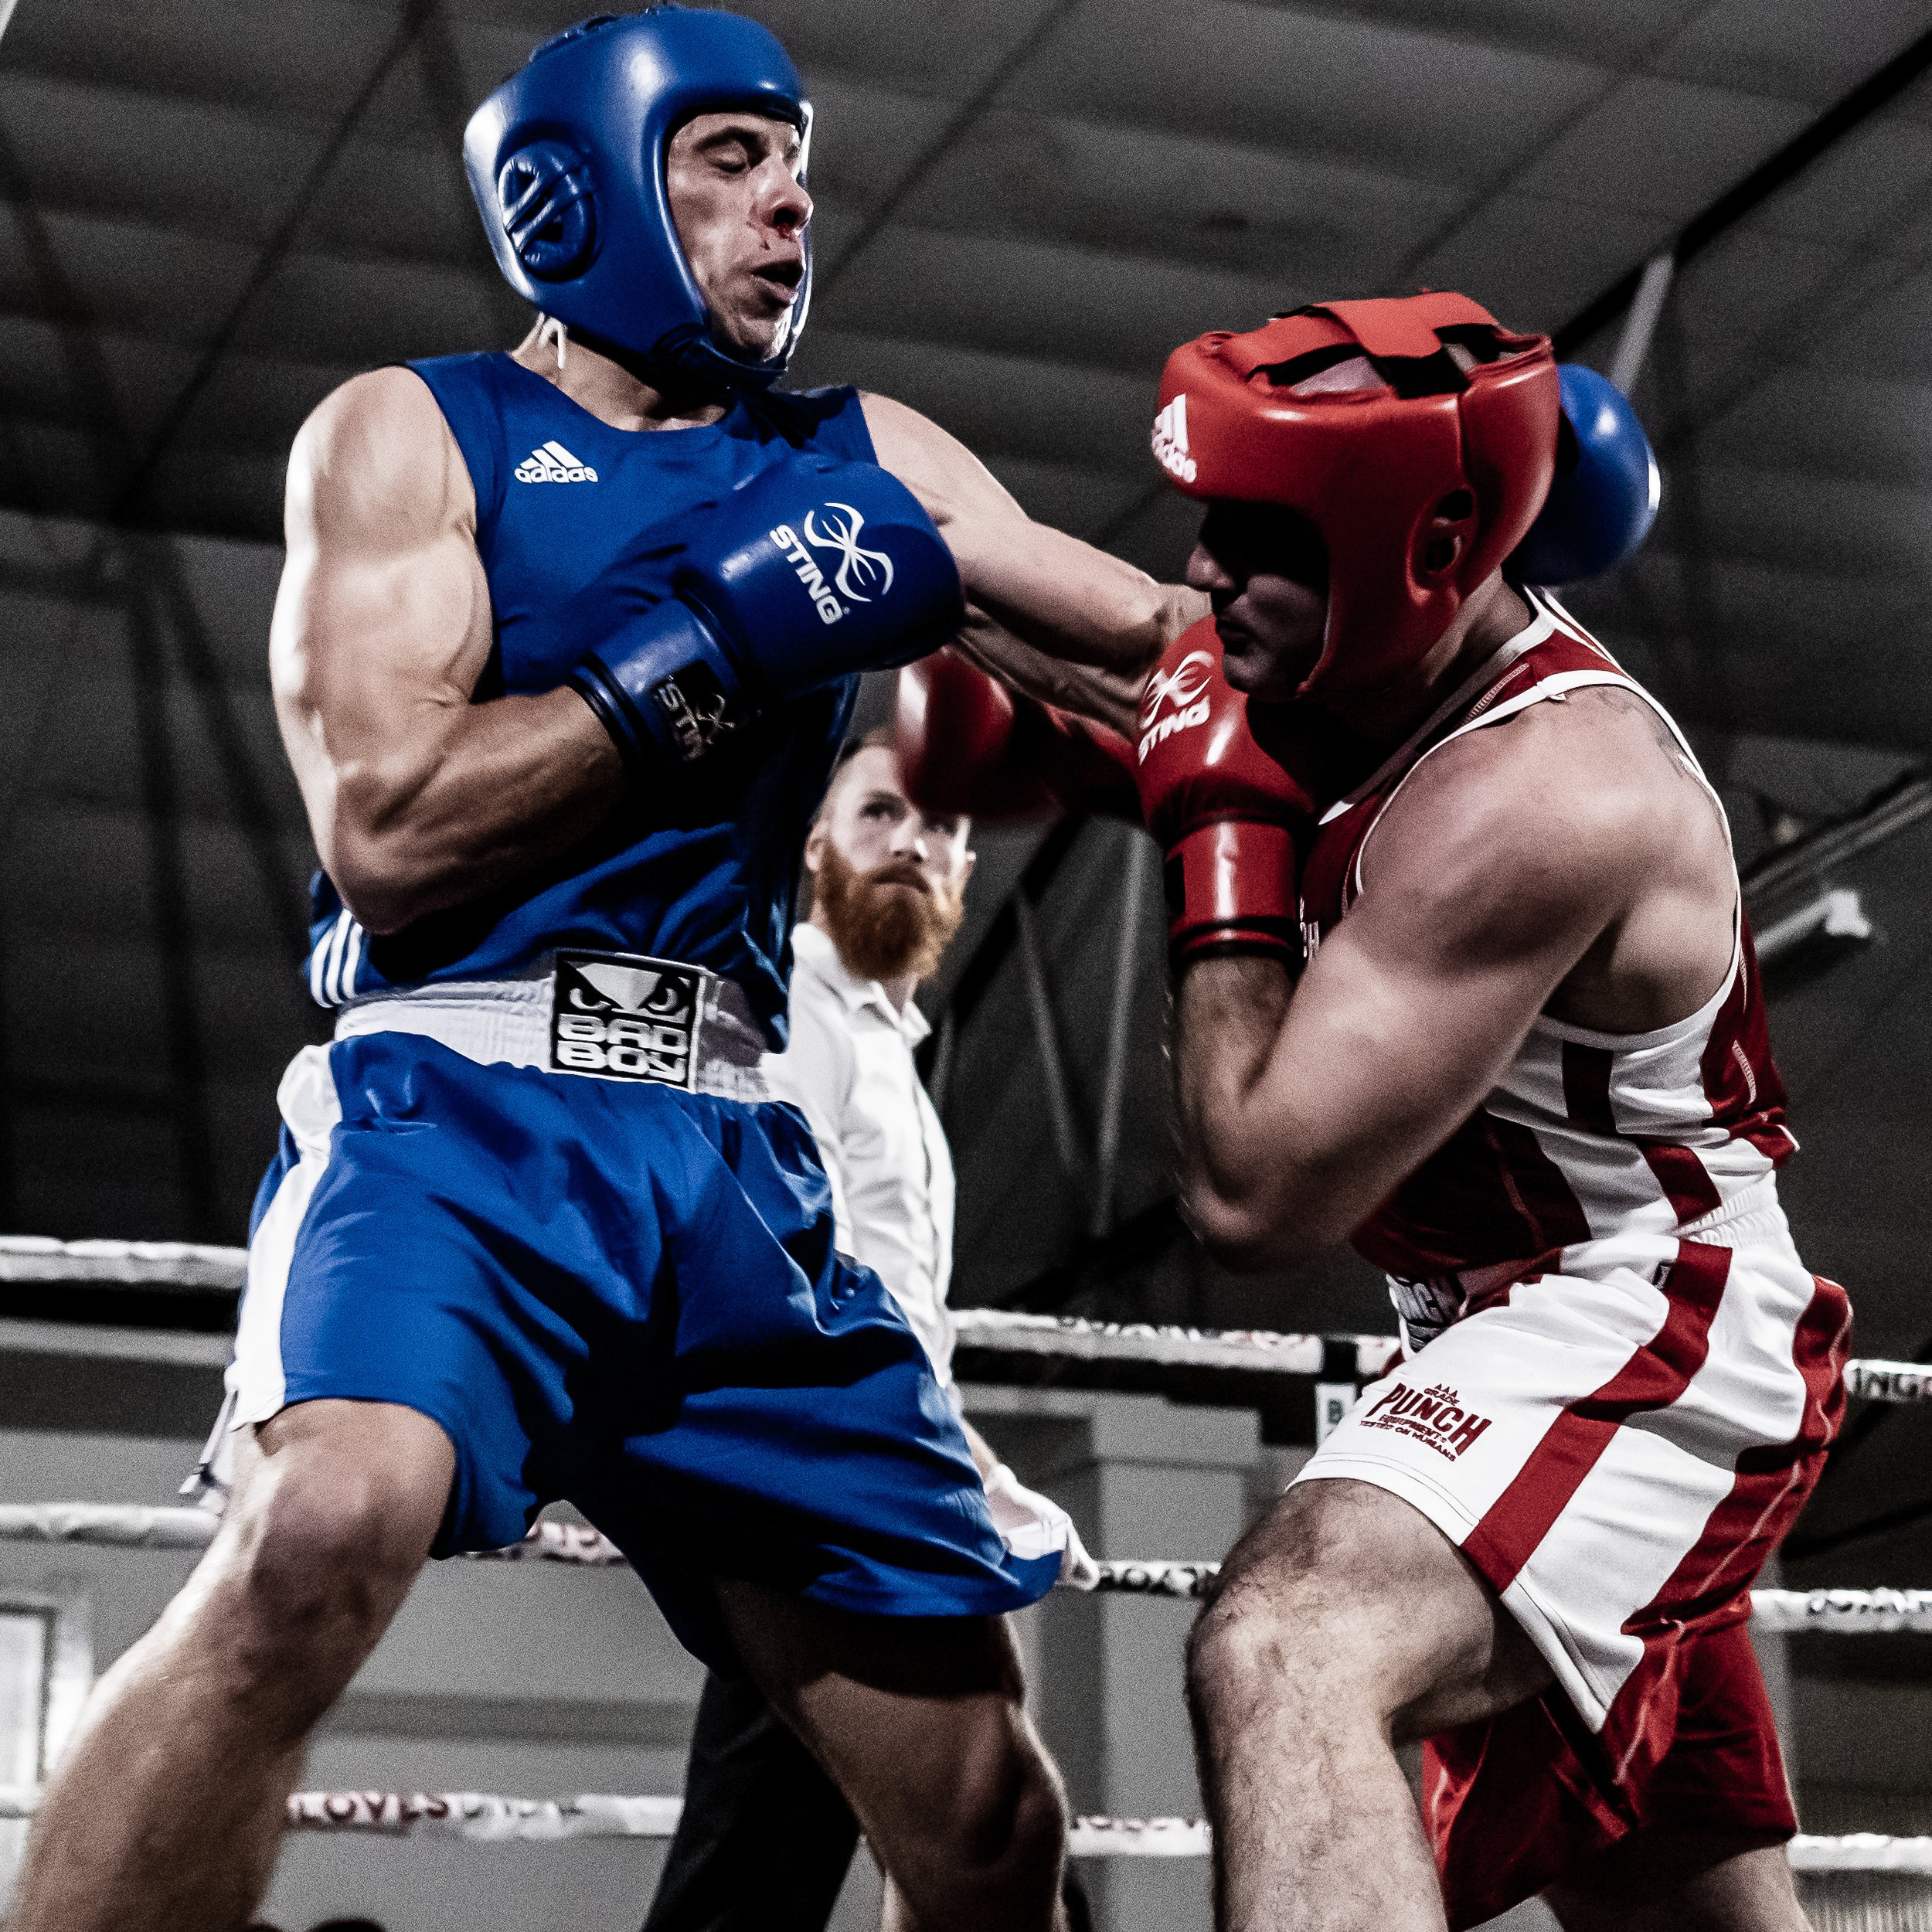
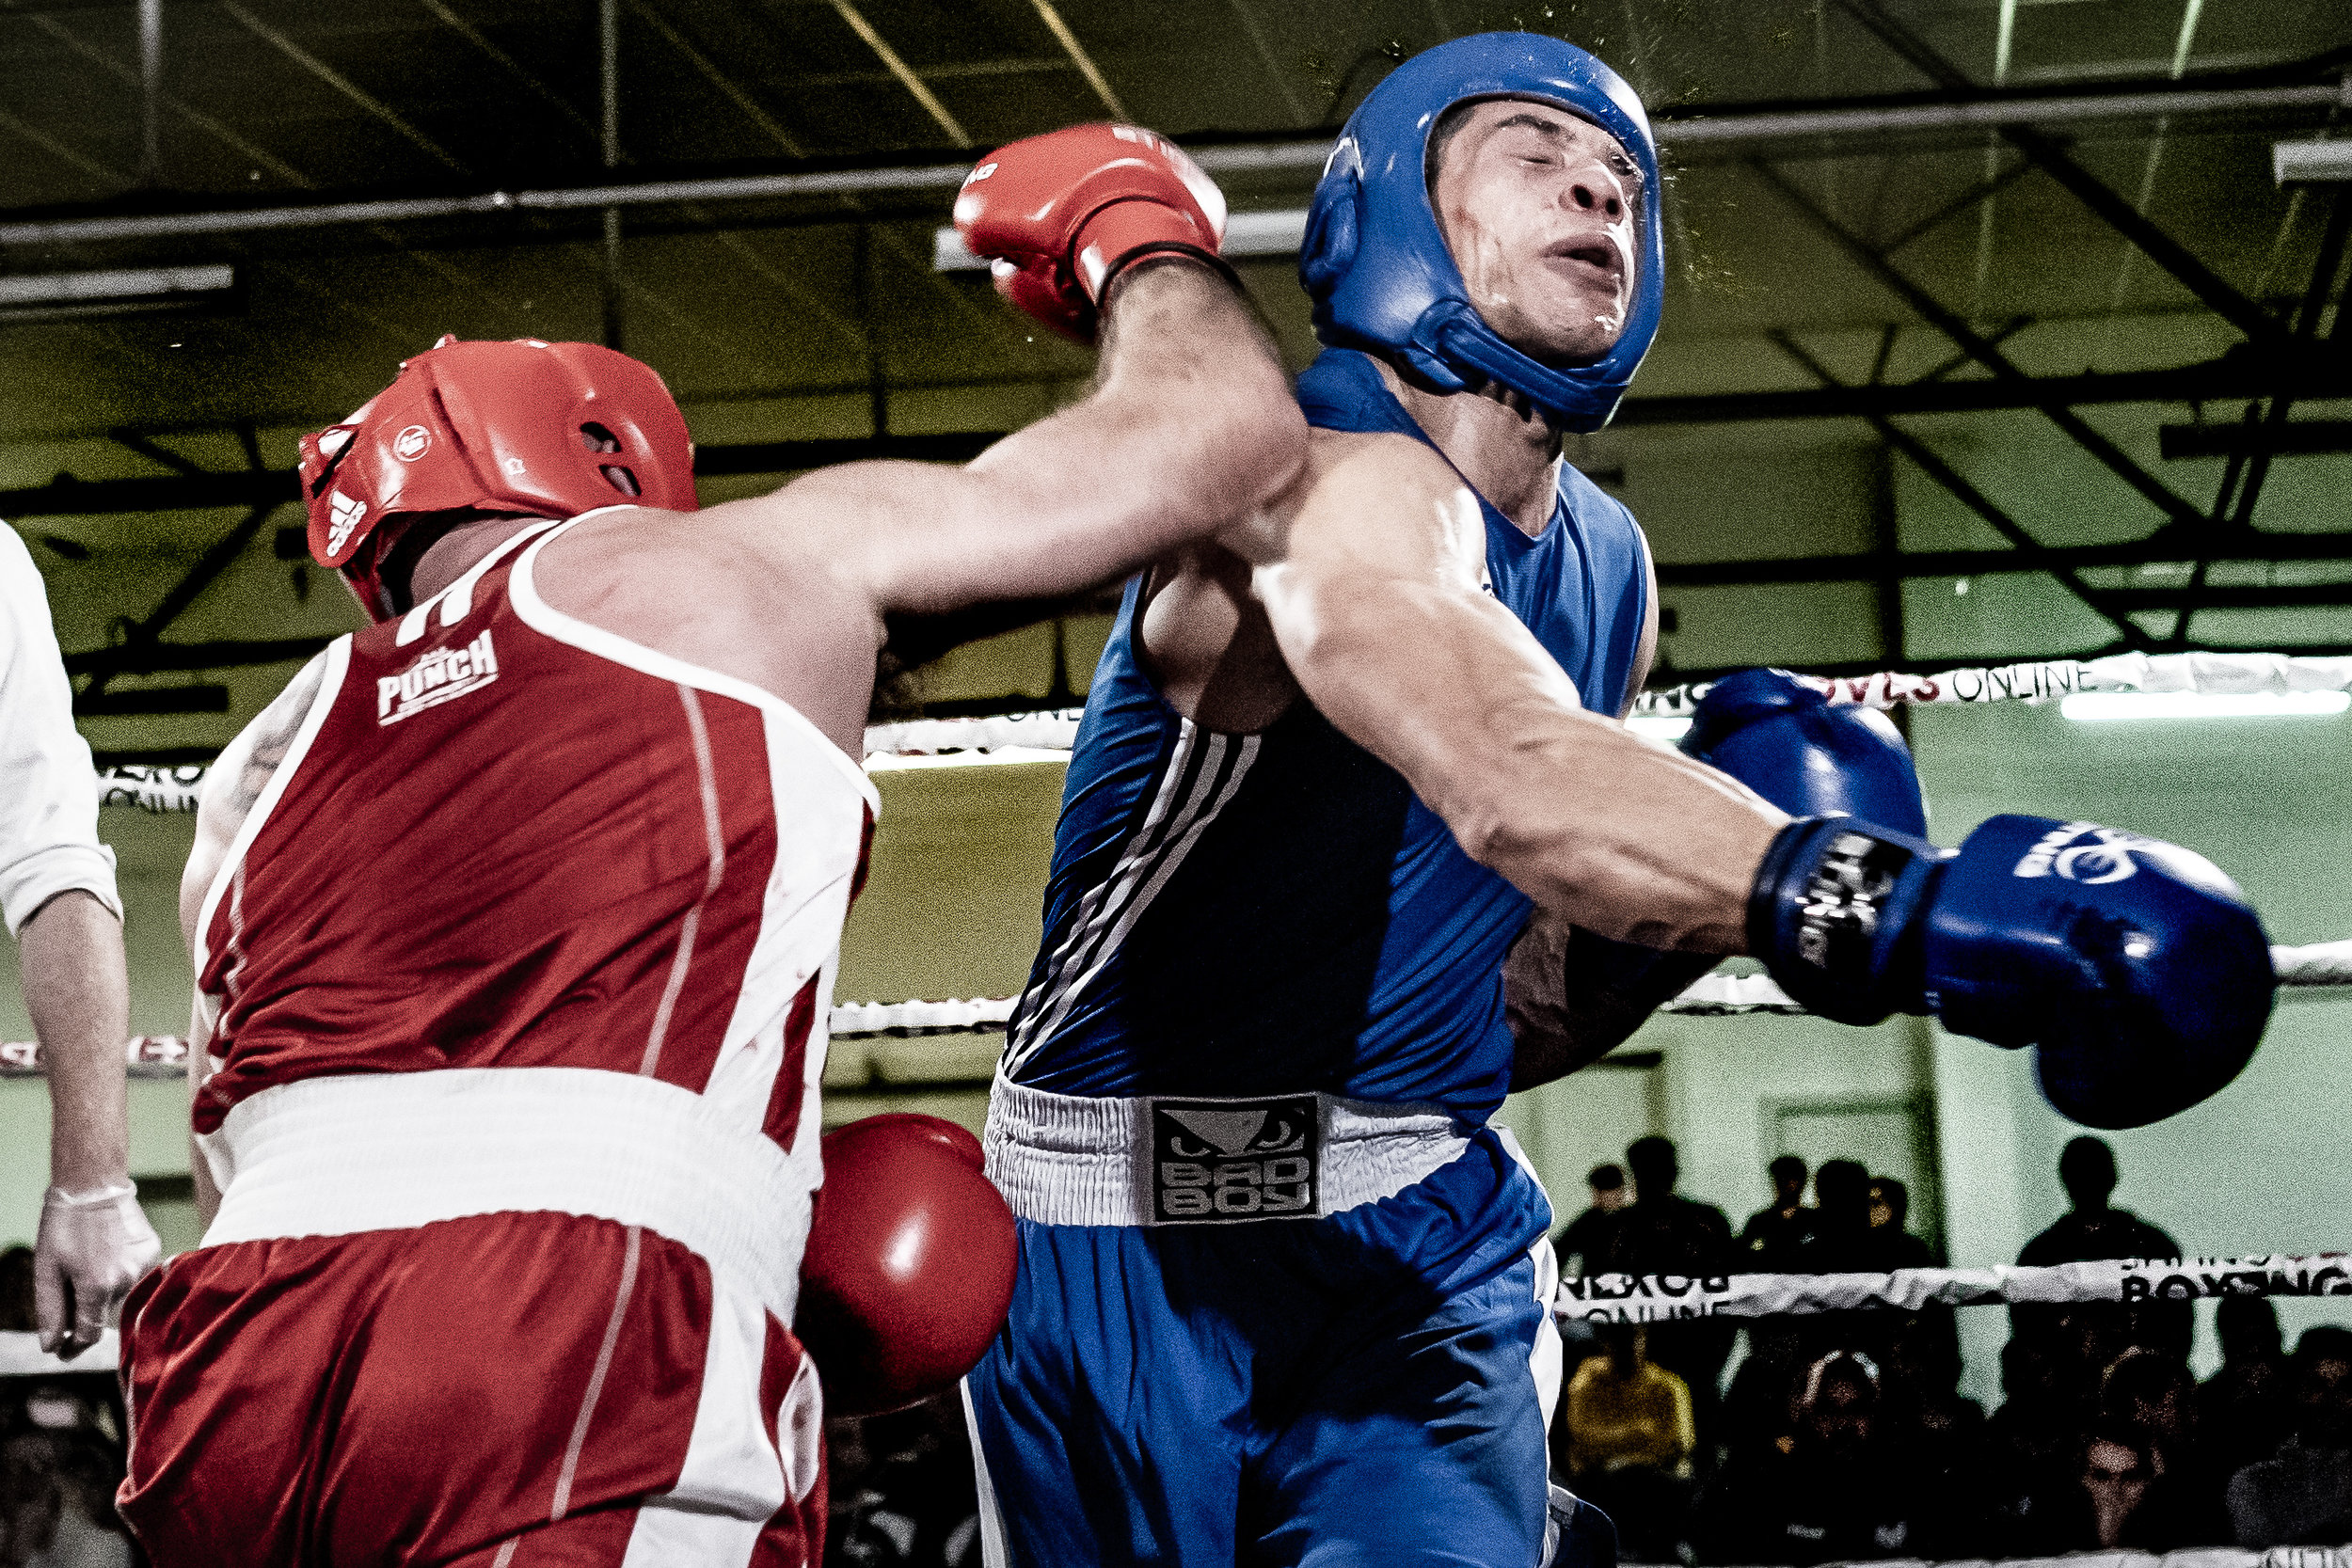
Most action shots will be found during the editing process as you’ll take so many images on the night - another reason to use the high speed shutter and take a series of shots to get “That” image of impact